Author: Rossana Mazza Creation Date: 29/09/2025
Last Reviewer: Vincenzo Mossuto
Placement
Positioning the final model
Two dedicated scripts are used to define the final positioning of the eyewear models before export:
- Setup FULL: positions the model for 3D and 360° visualization.
- Setup CUT: prepares the model for Virtual Try-On (VTO). The procedure differs from the standard FULL setup, as it requires additional adjustments to ensure correct placement and avoid interpenetration with the head model.
These scripts ensure that models are consistently aligned and correctly placed in the scene before export.
Setup FULL
The Setup FULL script is used for positioning the model for 3D and 360° rendering.
- The model is automatically placed at the world origin
(0,0,0). - The base of the model is aligned with the ground plane.
- This ensures consistent positioning across all scenes intended for standard 3D or 360° visualization.
Setup CUT (Virtual Try-On)
Procedure
-
- The temples are rotated outward to prevent intersection with the client’s head.
- The default rotation angle is 7°, but it can be adjusted according to the specific frame design and the VTO result.
-
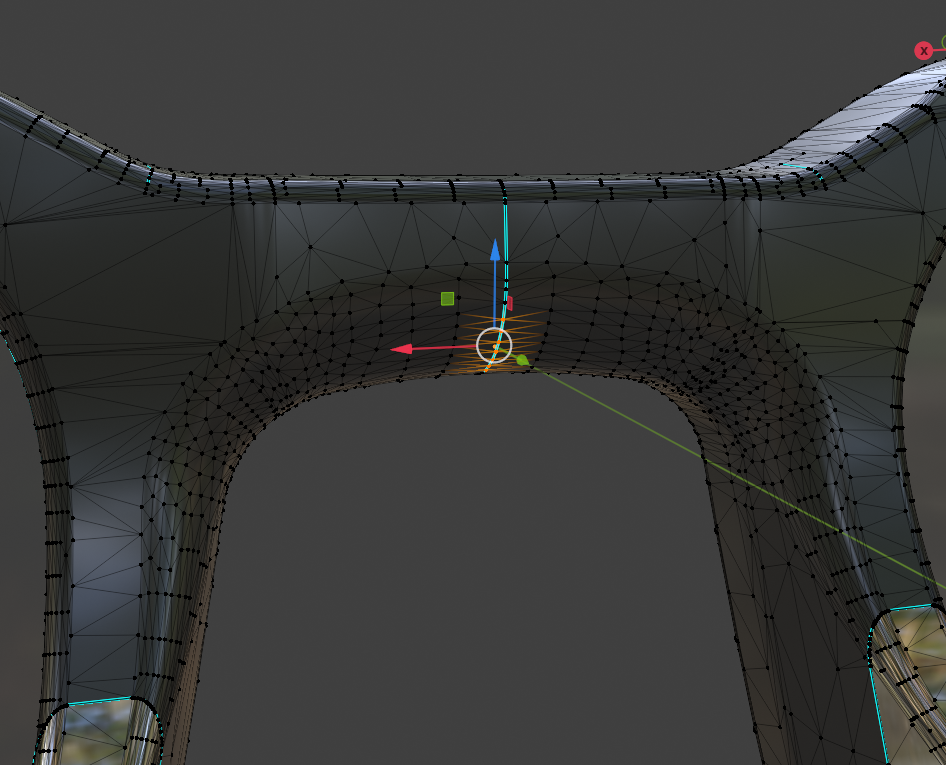
- In Edit Mode, a vertex located on the bridge of the glasses is selected.
- This vertex represents the potential contact point between the bridge and the nose.
- The Set Contact Point command assigns this vertex as the origin reference for positioning.
-
- The model is automatically placed in the correct position for VTO export, based on the previously defined contact point.
-
Final Adjustment
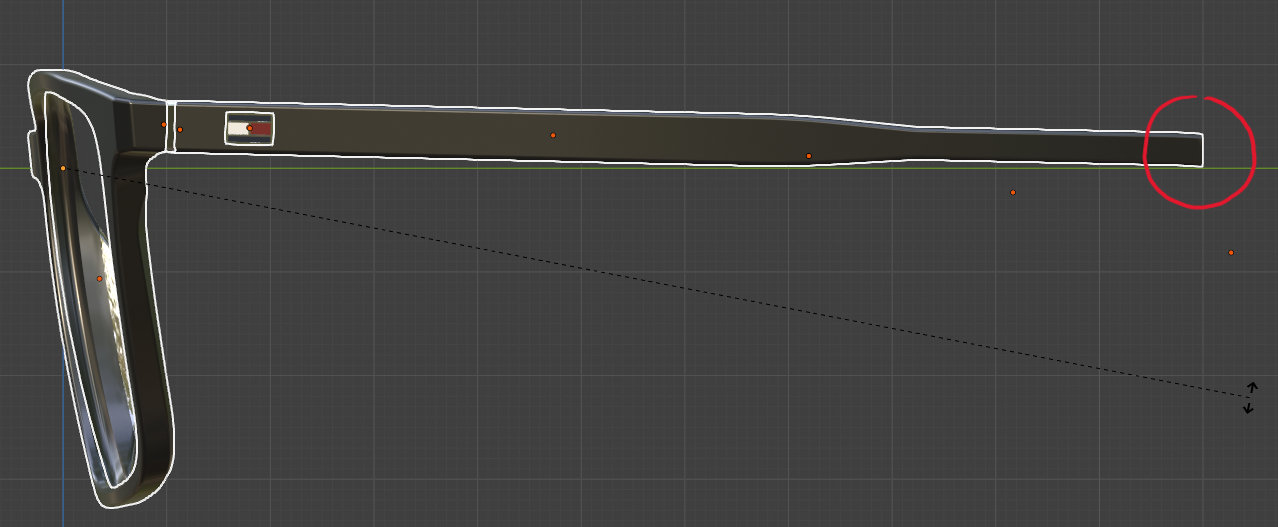
- From the side view, the model is rotated manually to ensure that the cutting point of the temple touches the ground plane.
- This guarantees proper alignment for the virtual try-on environment.

Notes
- The rotation angle of the temples may vary depending on the eyewear geometry and the specific VTO output.
- The contact point must be carefully selected to ensure correct placement and realistic fitting simulation.