Shading
Author: Rossana Mazza Creation Date: 25/09/2025
Last Reviewer: Vincenzo Mossuto
The shading phase is dedicated to the application and creation of materials, ensuring the model's visual integrity aligns with the original product references.
The shading process begins by analyzing reference images to determine the materials required. A duplicate of the RETOPO collection is created, renamed with the SKU identifier and the appropriate suffix _FULL to start with the shading.

Material Management
Material application follows a dual-path approach: utilizing existing assets or creating new ones.
- Existing Materials
The Database Shading workspace, pre-configured in the RETOPO MODEL SETUP file, provides access to the shared Material Library via the Asset Browser.
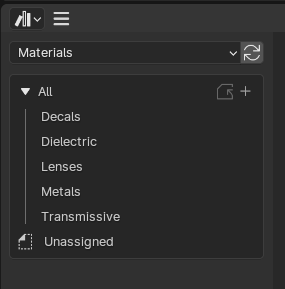
Based on reference analysis (for example, identifying a front frame composed of layered plastics and building on the previously defined material slots for separating different parts of the same mesh), materials are applied directly by simply dragging and dropping them from the Asset Library on the respective component in the workspace or on empty material slots.
- New Materials
Should a required material not be available in the database, a new shader must be created.
This is done within the Shading workspace by creating a new material or duplicating a similar existing material for the selected object. Using the Shader Editor, adjust the material parameters to precisely match the reference images.
Material Categories & Shader Guidelines
Once a new shader is created, it must be categorized based on the material type it represents.
This ensures consistency across the workflow, simplifies reuse, and streamlines future adjustments.
Materials are grouped into specific categories based on their physical and visual properties.
1) Decals
Used for decals applied directly onto other surfaces.
Decal shaders are based on Dielectric or Metallic types, but categorized separately and renamed differently for consistency in branding and surface details.
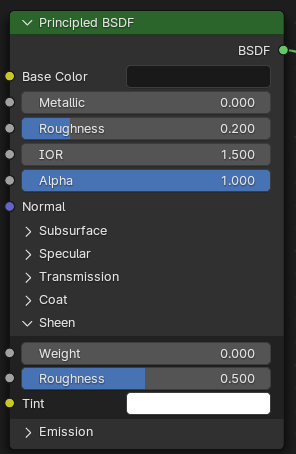
2) Dielectric
Used for non-metallic, opaque materials such as plastic frames or painted surfaces. These shaders primarily use diffuse and specular reflections without a metallic contribution.
- Key Parameters:
- Base Color
- Roughness (controls glossiness)
- Best Practices:
- Metallic value is almost always set to 0.
- Roughness should match the material’s properties (e.g., lower for glossy plastic, higher for matte surfaces).
Example: DE_GL_BLC_191919_3DV
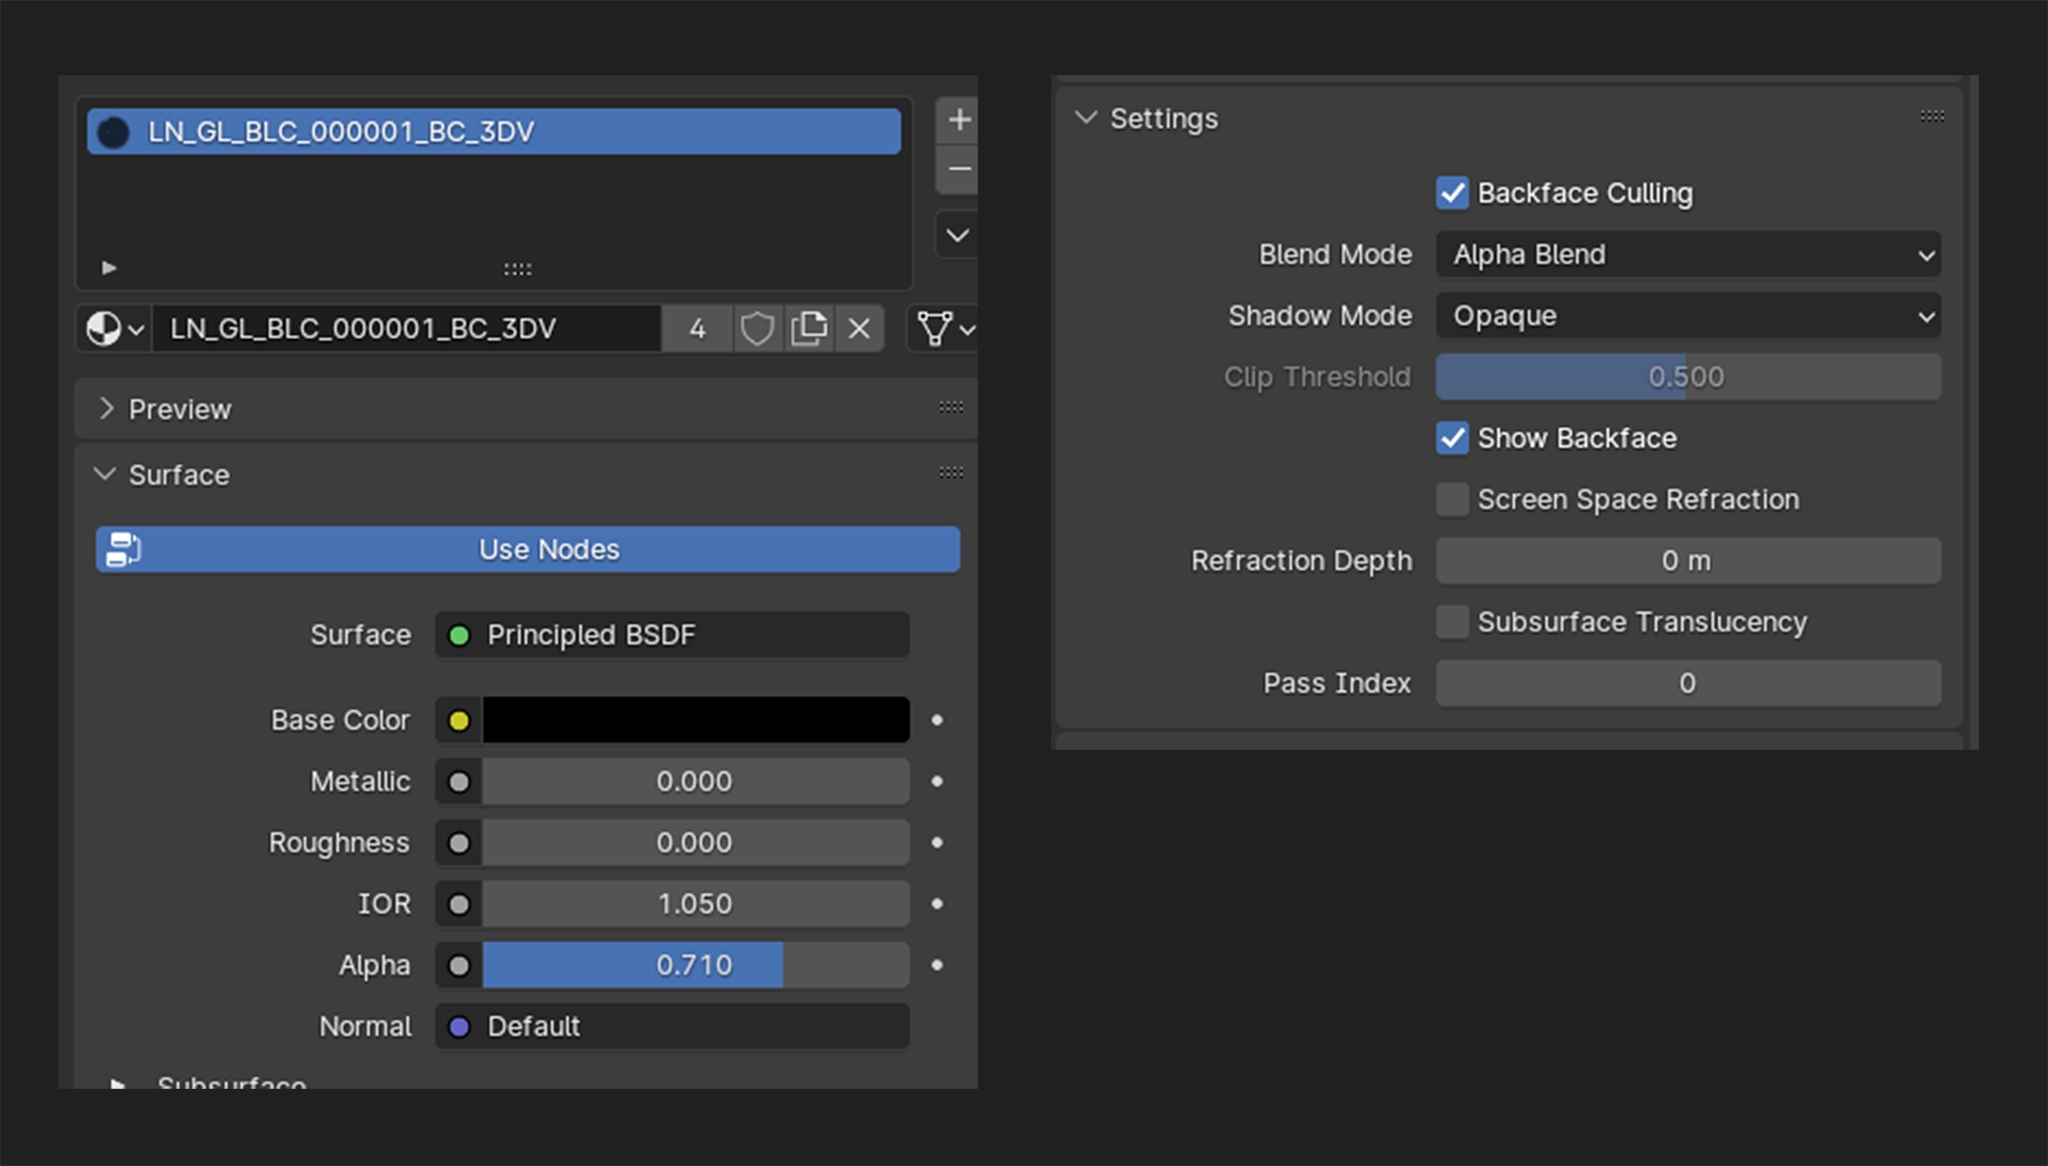
3) Lenses
Designed for transparent or semi-transparent surfaces typical of optical lenses, especially for sunglasses.
- Key Parameters:
- Base Color
- Alpha (controls transparency)
- IOR (Index of Refraction): set to 1.050
- Best Practices:
- Base color should always have full saturation to prevent a "foggy" or washed-out look.
- Blend Mode set to Alpha Blend.
- Alpha adjusted for opacity, from clear to very dark.
Example: LN_GL_BLC_000001_BC_3DV
4) Metals
Covers all metallic components like hinges, screws, logos, and decorative elements.
- Key Parameters:
- Base Color
- Metallic
- Roughness
- Best Practices:
- Metallic = 1
- Base Color represents the metal’s reflection color
- Roughness controls sharpness or blur of reflections
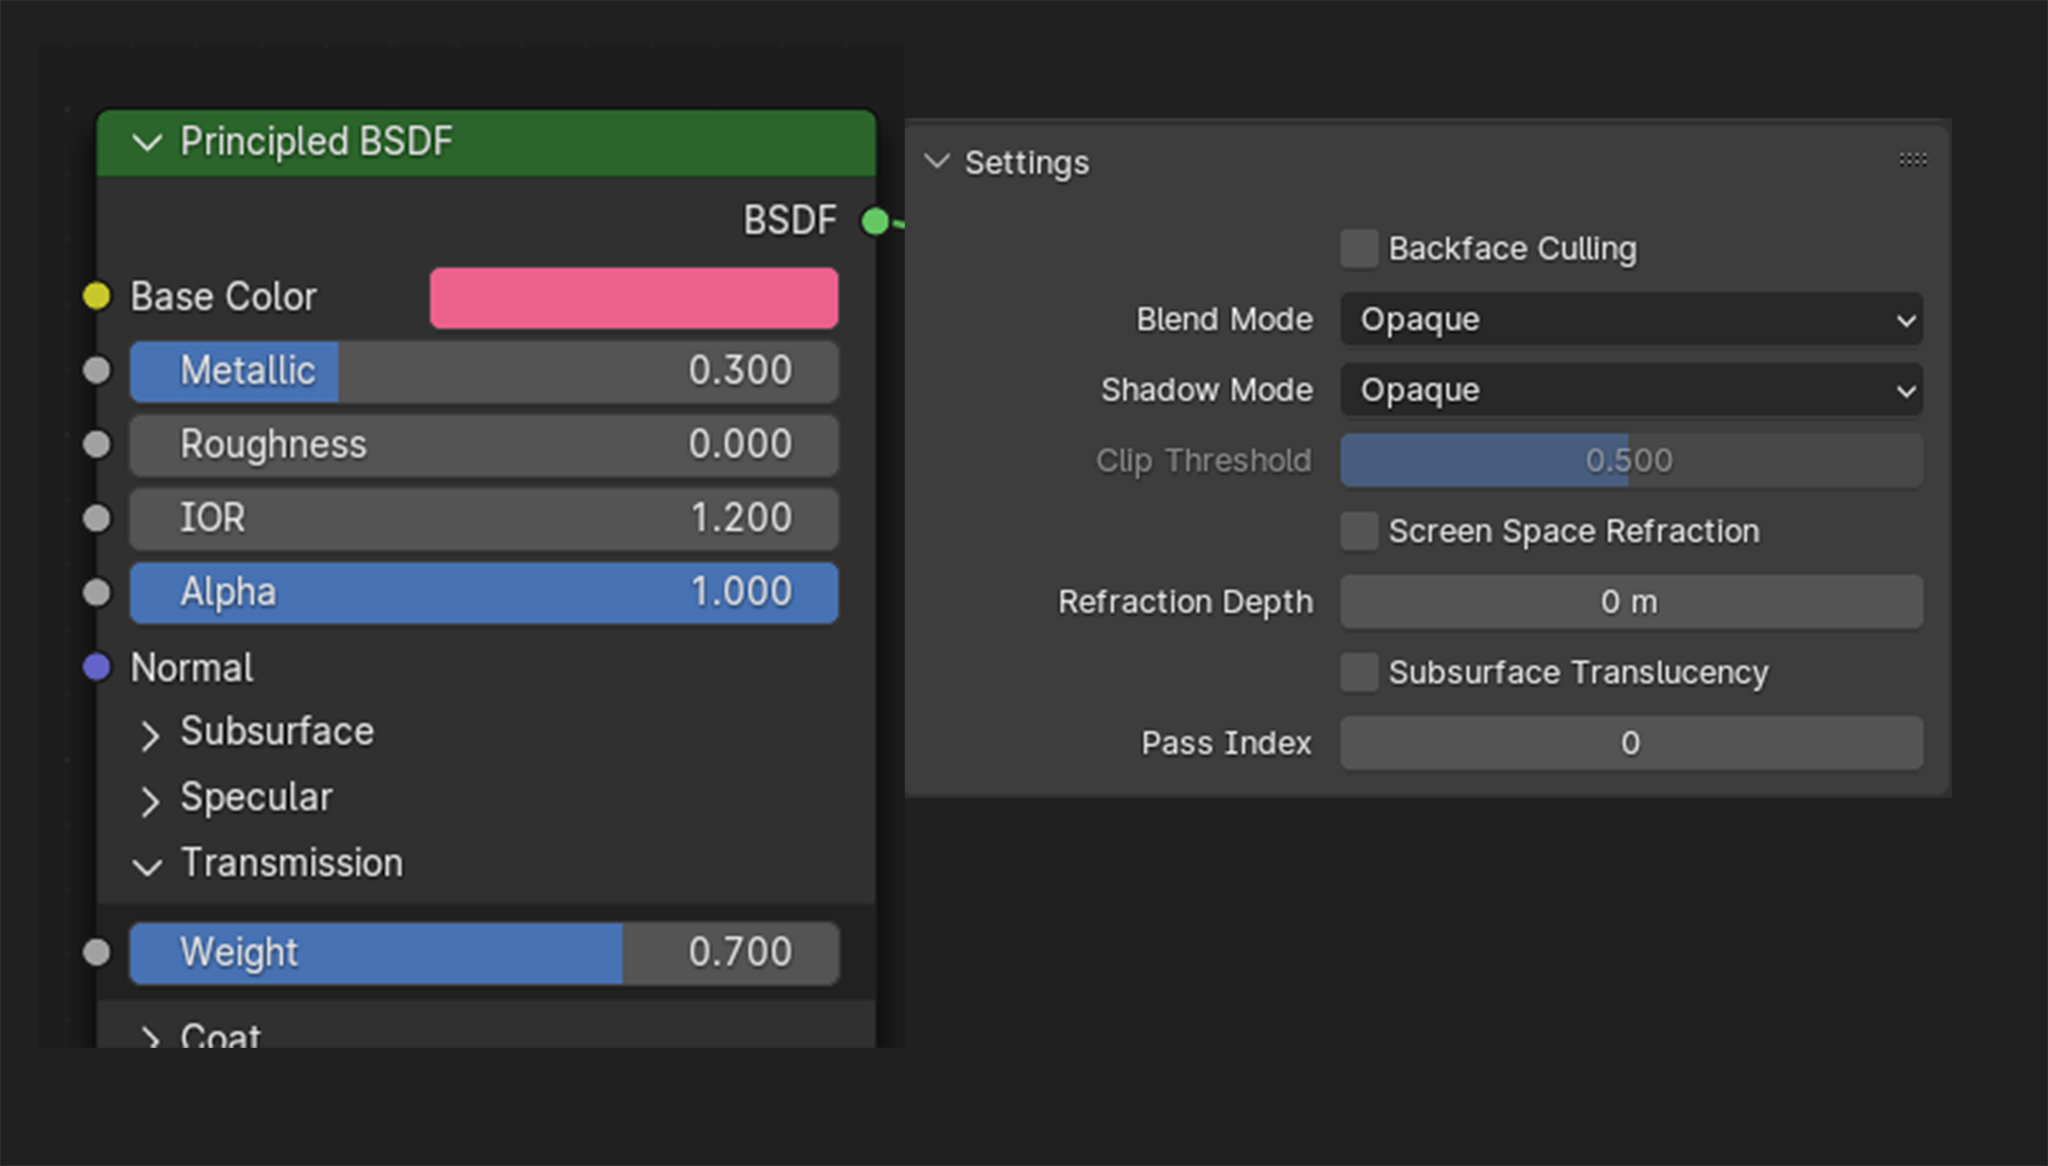
5) Transmissive
Designed for transparent and semi-transparent elements like frames and nosepads.
- Key Parameters:
- Base Color
- Roughness
- Transmission Weight (0 = opaque, 1 = fully transparent)
- IOR: typically 1.2 (for plastics like acetate or injection). May be lowered to avoid artifacts.
- Metallic: generally 0.0 to 0.25
- Best Practices:
- Use Transmission Weight (not Alpha) for transparency.
- Blend Mode set to Opaque.
New Materials and Texturing Workflow
New Materials
Material Renamer: new shaders must follow naming conventions. The Material Renamer script (which relies on the documented naming table) assigns names automatically based on the base color’s hex value.Check Material Tool: script that ensures correct nomenclature for export.
A subsequent verification step is mandatory: new materials must be validated within the ARShades AR Viewer, since their final appearance may differ from Blender due to the use of the default production HDRI on the website.
Customize preset: a function that allows to customize materials directly on ARShades; customized materials can be saved on the dashboard 3D or exported as.glband re-imported into Blender.
→ Best practice:
the modified materials should be re-imported into Blender, where they can be correctly renamed; this also ensures that the working scene remains consistent and aligned with the approved materials.
Export material as asset: if required this script exports and saves the new shader in the shared library
Unwrap and Procedural Materials
When working with models featuring a Havana or more complex pattern, the unwrapping method is chosen according to the geometry.
→ Key Steps
- Initial Separation: UV islands have been pre-separated previously using Project from View on each one.
- Selection: It is possible to quickly select connected vertices with
Ctrl+Land use the “UV” option as the limiting parameter. - Arrangement: Each island is then unwrapped individually and arranged efficiently on a square texture space.
- Distortion Control: Where necessary, additional seams may be introduced to reduce distortion.
A new material is created and assigned the havana texture.
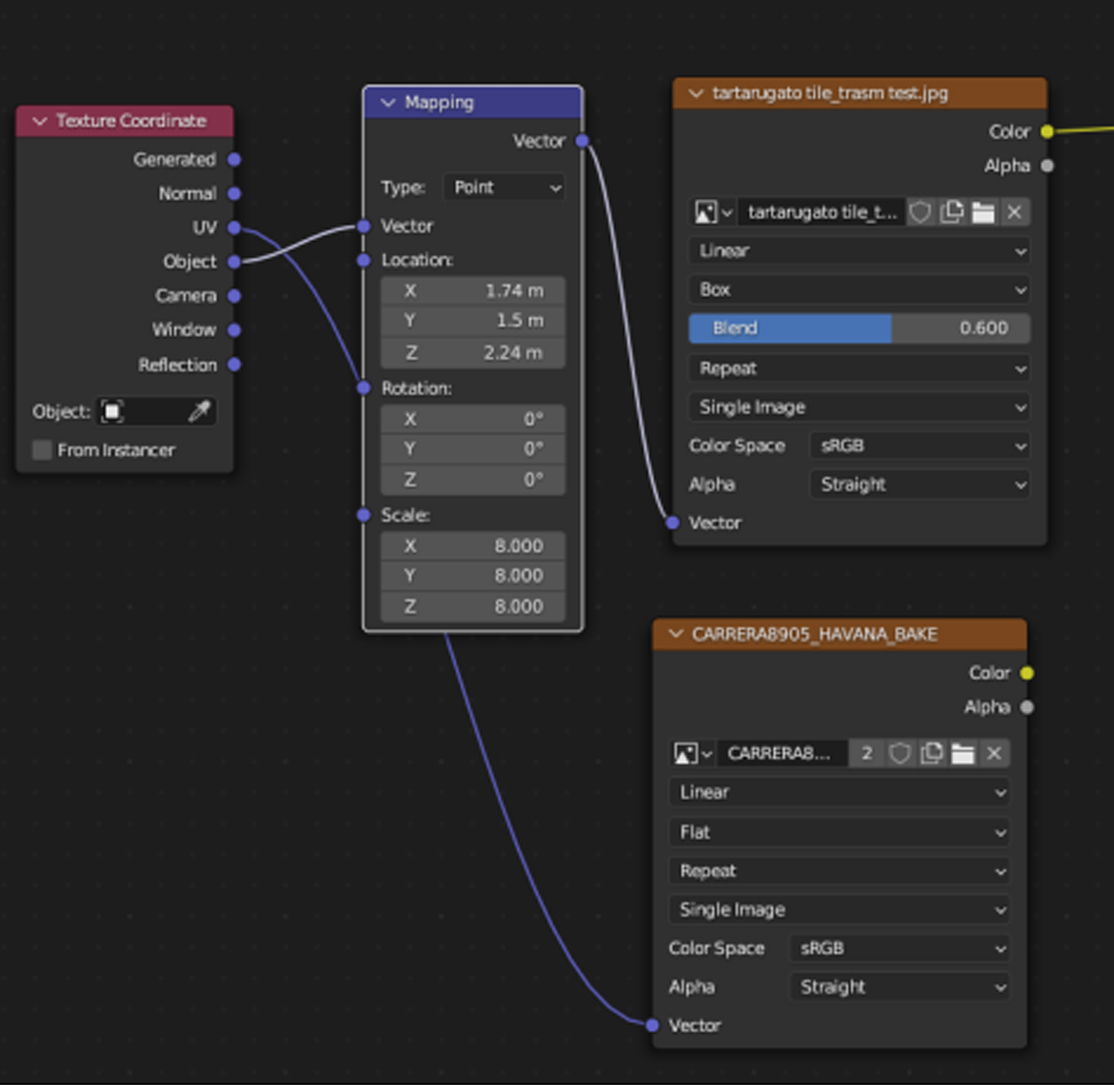
Minimizing Seams and Artifacts
- To minimize visible seams between UV islands, the texture mapping is set to Box.
- A blend value of 0.5–0.6 is used to smooth transitions and reduce tiling artifacts.
- Mapping node is then used to fine-tune position, rotation, and scale.
Baking
Prerequisites
- Render Engine: Cycles must be set as the active render engine.
- Bake Target: An empty texture must be created and assigned as the bake target.
Procedure
- The bake type is set to Emit.
- In the Bake panel (Render Properties), the Bake Type is to
Emit. - The bake is performed with the empty texture as the active image.
- The resulting bake texture is saved.
- The baked texture is reassigned as the Diffuse input in the material:
- either linked directly to the UV coordinates,
- or connected through a dedicated UV Map node.
Textures are usually exported in JPG format, with common resolutions of 512×512 or 1024×1024. They should be kept as light as possible to avoid unnecessarily increasing the size of the final export, while still maintaining enough visual fidelity to ensure the model and the 3D visualization remain clear and convincing.