Models Validation
Author: Sara Altomare Creation Date: 19/09/2025
Last Reviewer: Vincenzo Mossuto
What It Is
The validation process begins once an eyewear model or a single SKU has been assigned by the Modeler Supervisor.
This process makes it possible to monitor and certify the progress of the model until its final publication.
How It Works
Initially, each eyewear model is in the Incomplete state.
To officially start the workflow, the Modeler must click the Start button, in the Variant MODEL_CODE_001_FRAME_COLOR Details page, which marks the beginning of the operational work on the model and allows the transition to the next state.
Incomplete → Modelist Rev. → Spaarkly Rev. → Client Rev. → In Publication → Published
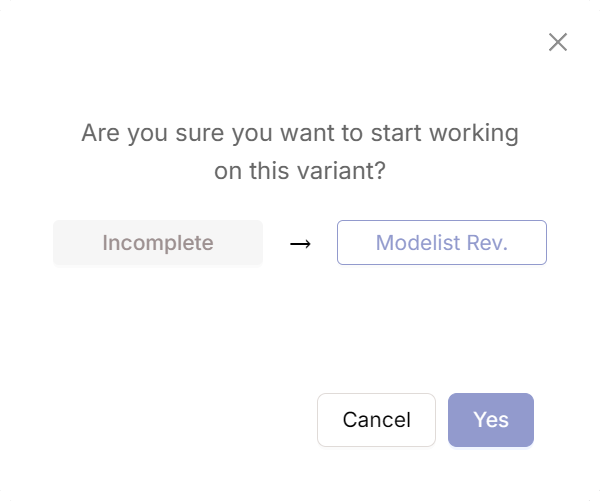
- Incomplete → initial state in which the eyewear model has been assigned but not yet processed.
In this step, the Modeler must click the Start button. You must click YES to move to the next state.
-
Modelist Rev. → the Modeler begins actively working on the model. This state indicates that the eyewear is in progress under the Modeler’s responsibility.
The Start button will no longer be visible. To proceed to the next state, click the Validate button. If confident in the work performed, confirm by clicking Yes.At this point, the Modelling Type window will appear, where you can specify how the eyewear was modeled:
- With InstaLOD
- Manual
- With InstaLOD + Manual
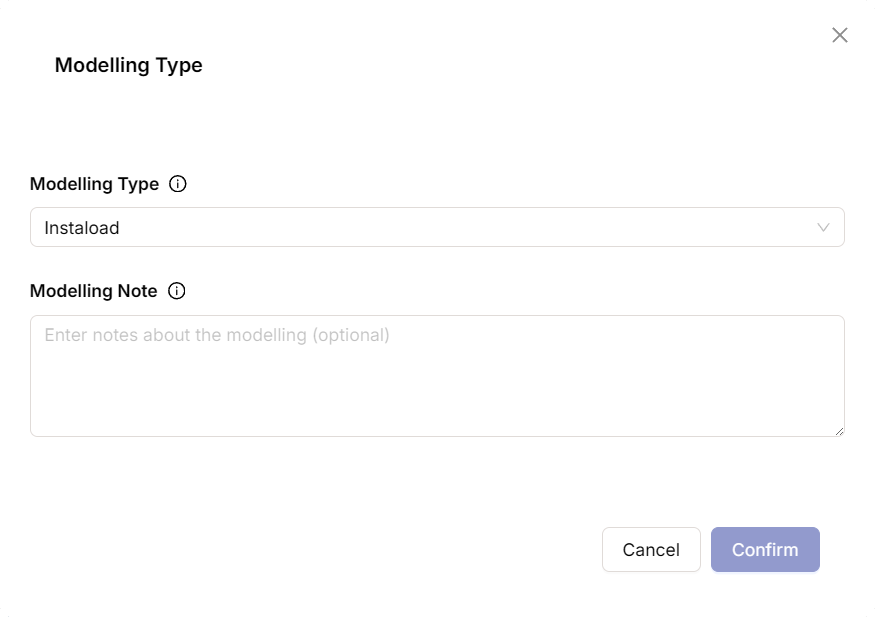
Note: In the same window, there is the Modelling Note field, where you can enter any additional notes regarding the work performed.
-
Spaarkly Rev. → intermediate check by the Modeler Supervisor, who decides whether the model is ready to move on to the next phase (Client Rev.) or if further corrections are required.
If declined, the model is returned to the Modelist Rev. state for revisions and adjustments. At this stage, the Modeler Supervisor must clearly specify the issues identified in the eyewear and describe the modifications to be made. If necessary, the supervisor also has the option to attach images to support the provided instructions. -
Client Rev. → represents the final approval by the Client. At this stage, the Client can either:
- advance the model to the next state (In Publication)
- or decline the model if it does not meet certain standards or requirements. In this case as with the Modeler Supervisor, the client must also clearly specify the issues identified in the eyewear and describe the modifications to be made. If necessary, the client also has the option to attach images to support the provided feedback.
-
In Publication → preparation phase for the release of the approved model.
-
Published → final state that certifies the official availability of the model.
Tracking Progress
It is possible to see the progress of the various states in multiple pages of Frame Validation, using different symbols:
- In Catalogues Orders page and in th BRAND_SEASON_YEAR page (e.g., CAR_FW_25), the different states of the items are represented by ball-shaped icons.
- Each ball displays a number, which indicates the exact number of SKUs in that state.
- The color of the ball describes the specific status of the items.
Here are some example:
 This indicates that an SKU is Incomplete
 This indicates that an SKU is Modelist Rev.
 This indicates that two SKUs are Client Rev.
 This indicates that three SKUs are In Publication
- In the Variant MODEL_CODE_001 Details page and within the Variant MODEL_CODE_001_FRAME_COLOR Details page, the status is displayed directly, without the symbols.
Here are some example:

Note: The progress of the process is also indicated by a percentage indicator, visible within the BRAND_SEASON_YEAR page.