Models Uploading
Author: Sara Altomare Creation Date: 29/09/2025
Last Reviewer: Vincenzo Mossuto
What To Do
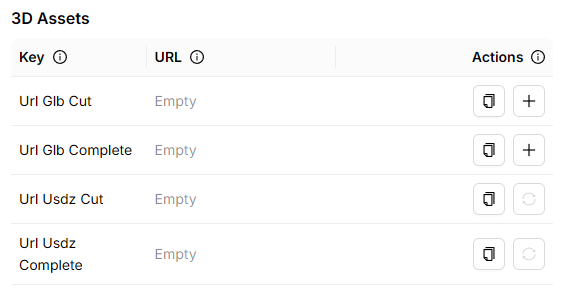
During the Upload phase, the modeler is responsible for uploading the files related to the eyewear model. In particular, two distinct versions of the model must be uploaded, both in GLB format, within the 3D Asset tab:
-
FULL Version → the complete eyewear model.
-
CUT Version → the model in which the temples are cut at ear level, used for Virtual Try-On.
Generated during the Export phase.
How To Do It
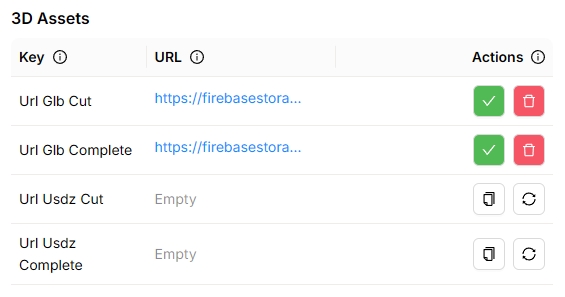
Both models must be uploaded to the Variant MODEL_CODE_001_FRAME_COLOR Details page, in the 3D Assets section located at the bottom left, by clicking the + icon. After uploading, it is necessary to confirm by clicking the green checkmark; alternatively, clicking the red trash icon will delete the upload.
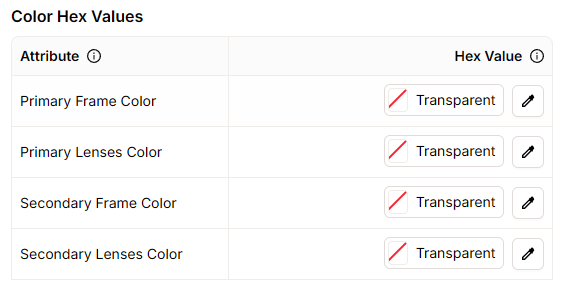
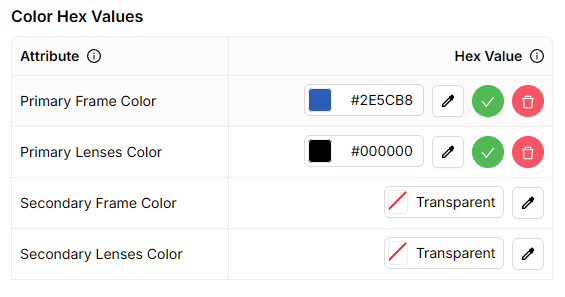
During this phase, the modeler must enter, in the Color Hex Values section, the hexadecimal codes for Primary/Secondary Frame Color as well as Primary/Secondary Lenses Color. Once each value is entered, a green check mark will automatically appear, which must be clicked to confirm the entry.
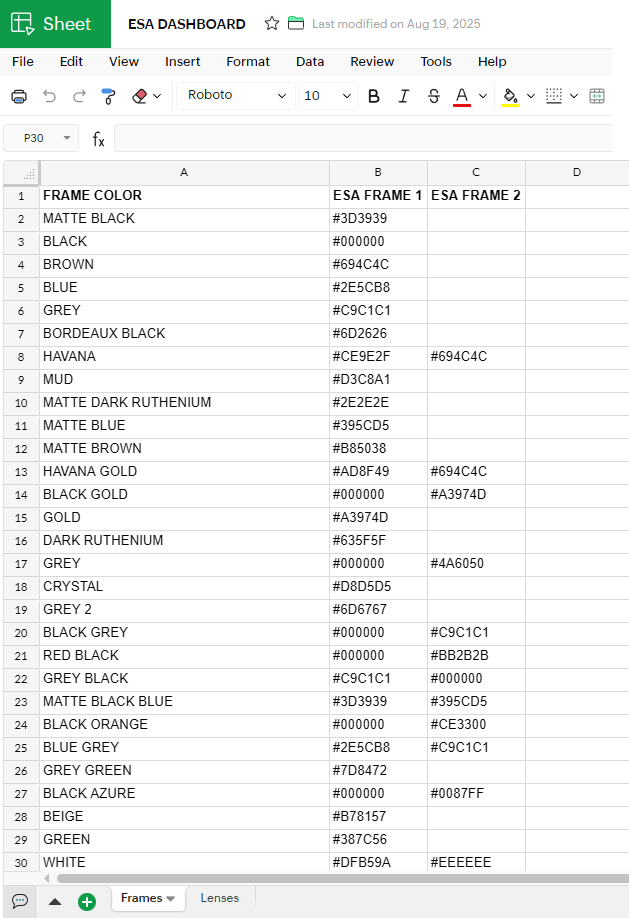
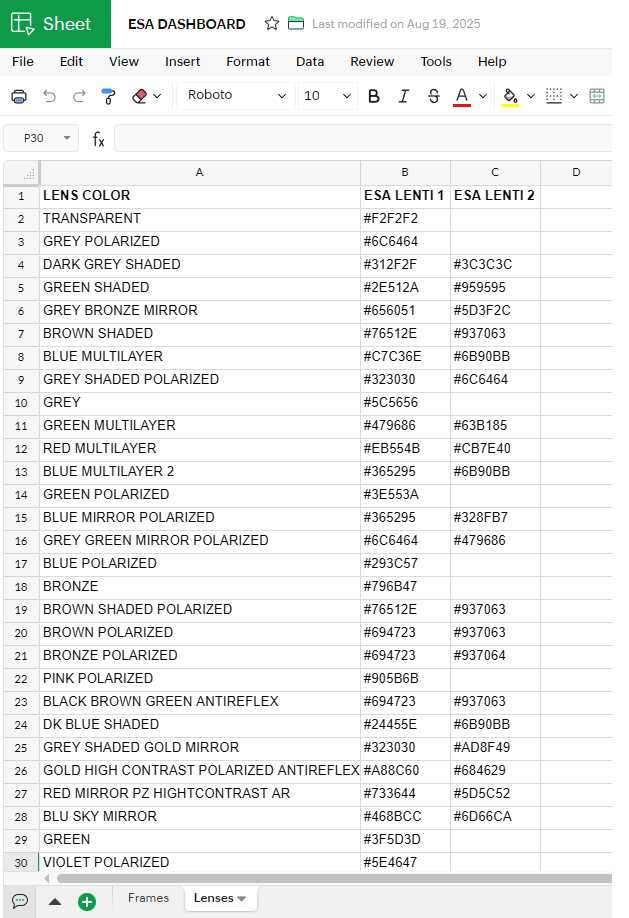
The hexadecimal values to be entered are retrieved from the ESA DASHBOARD document, which is divided into two sheets:
- Frames, dedicated to Frame Color.
- Lenses, dedicated to Lens Color.
Each sheet lists the color names along with their corresponding hexadecimal codes.
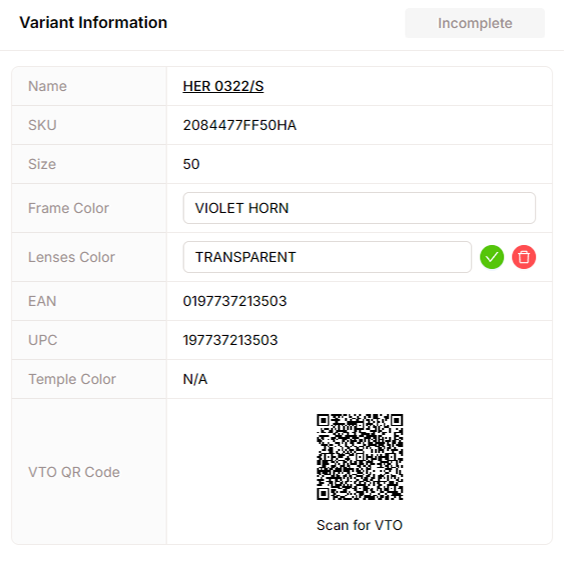
If necessary, the Lenses Color in the Variant Information section should also be entered, typically for prescription lenses, where the color to be entered is TRANSPARENT.
Note: All these uploads can be updated either individually, as described, or all together by clicking the
Savebutton at the top right.