Mirror Assembly
Assembly
Important: assembly requires two people for the steps involving the monitor. Work on a flat, stable surface.
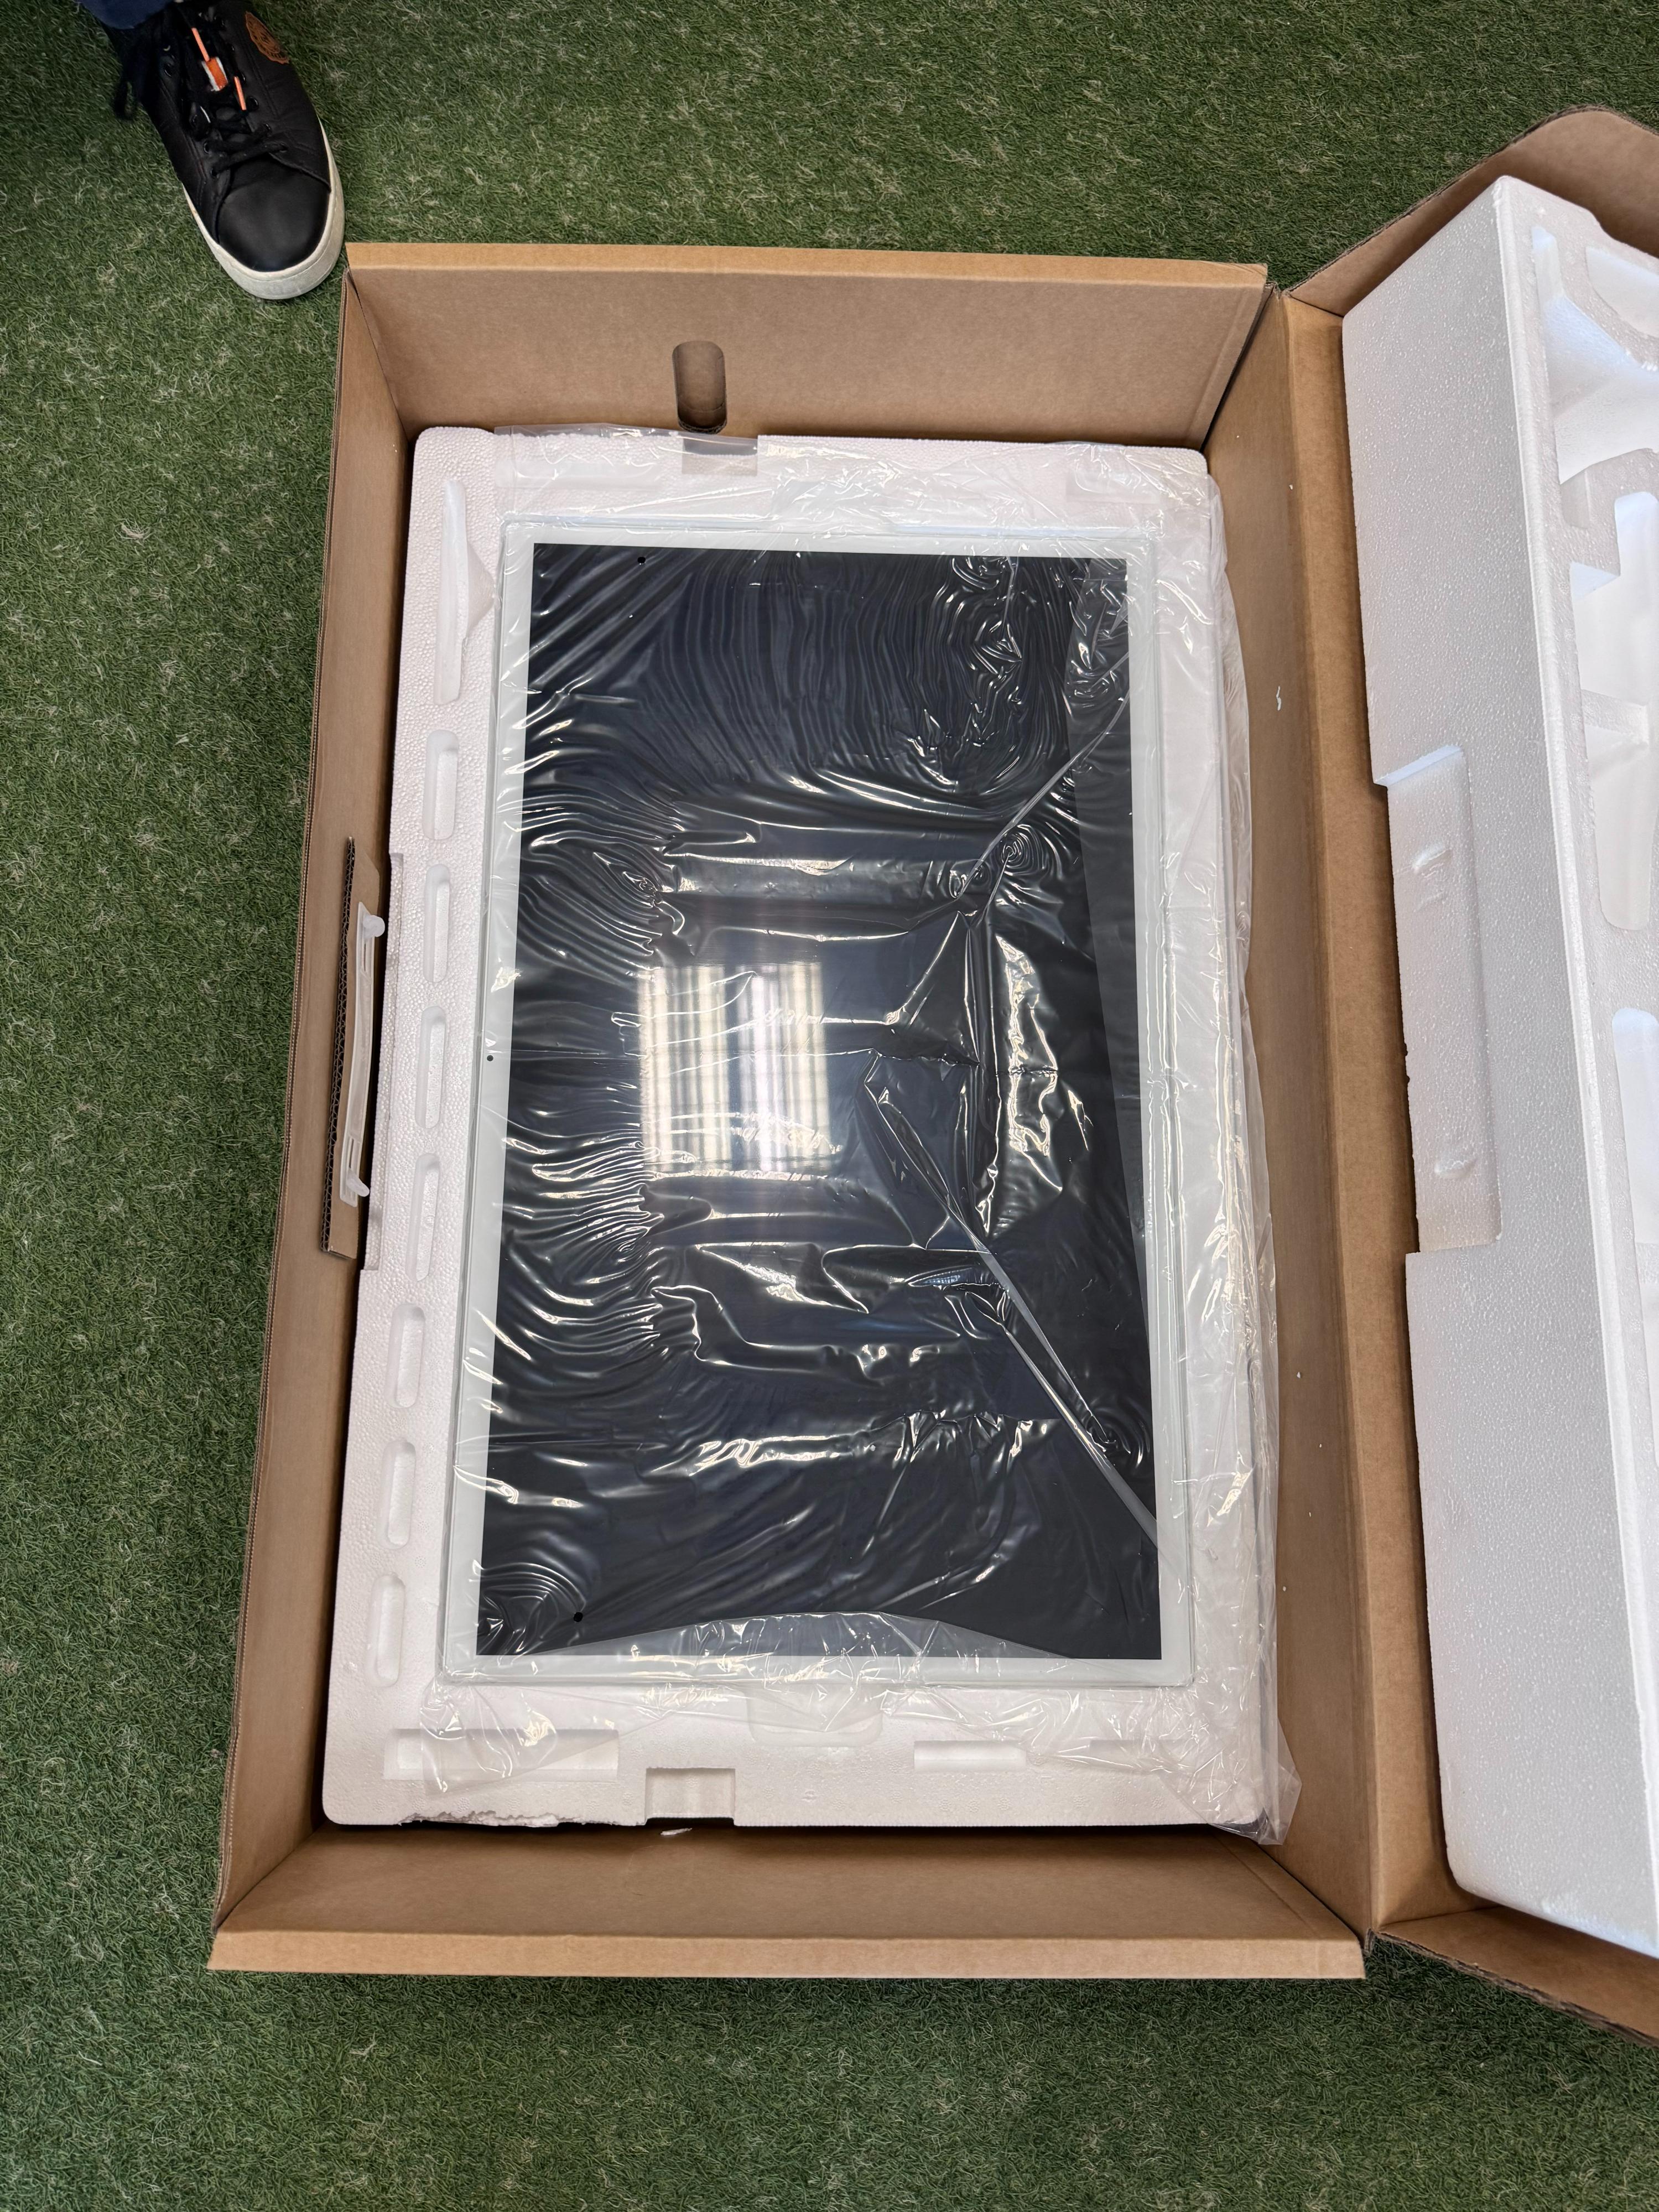
Step 1 — Remove the components from the box
Carefully remove the top layer of polystyrene from the box. Take out the circular base, the support pole, and the accessory kit. Leave the monitor inside the box until it is time to mount it.

Step 2 — Prepare the base
Place the circular base on a flat surface with the top side facing up. You will see the central hole for inserting the pole.
Step 3 — Insert the pole into the base
Place the pole onto the base by inserting it into the central hole. To make screwing easier, lay the entire assembly on its side with the monitor bracket resting on the floor.
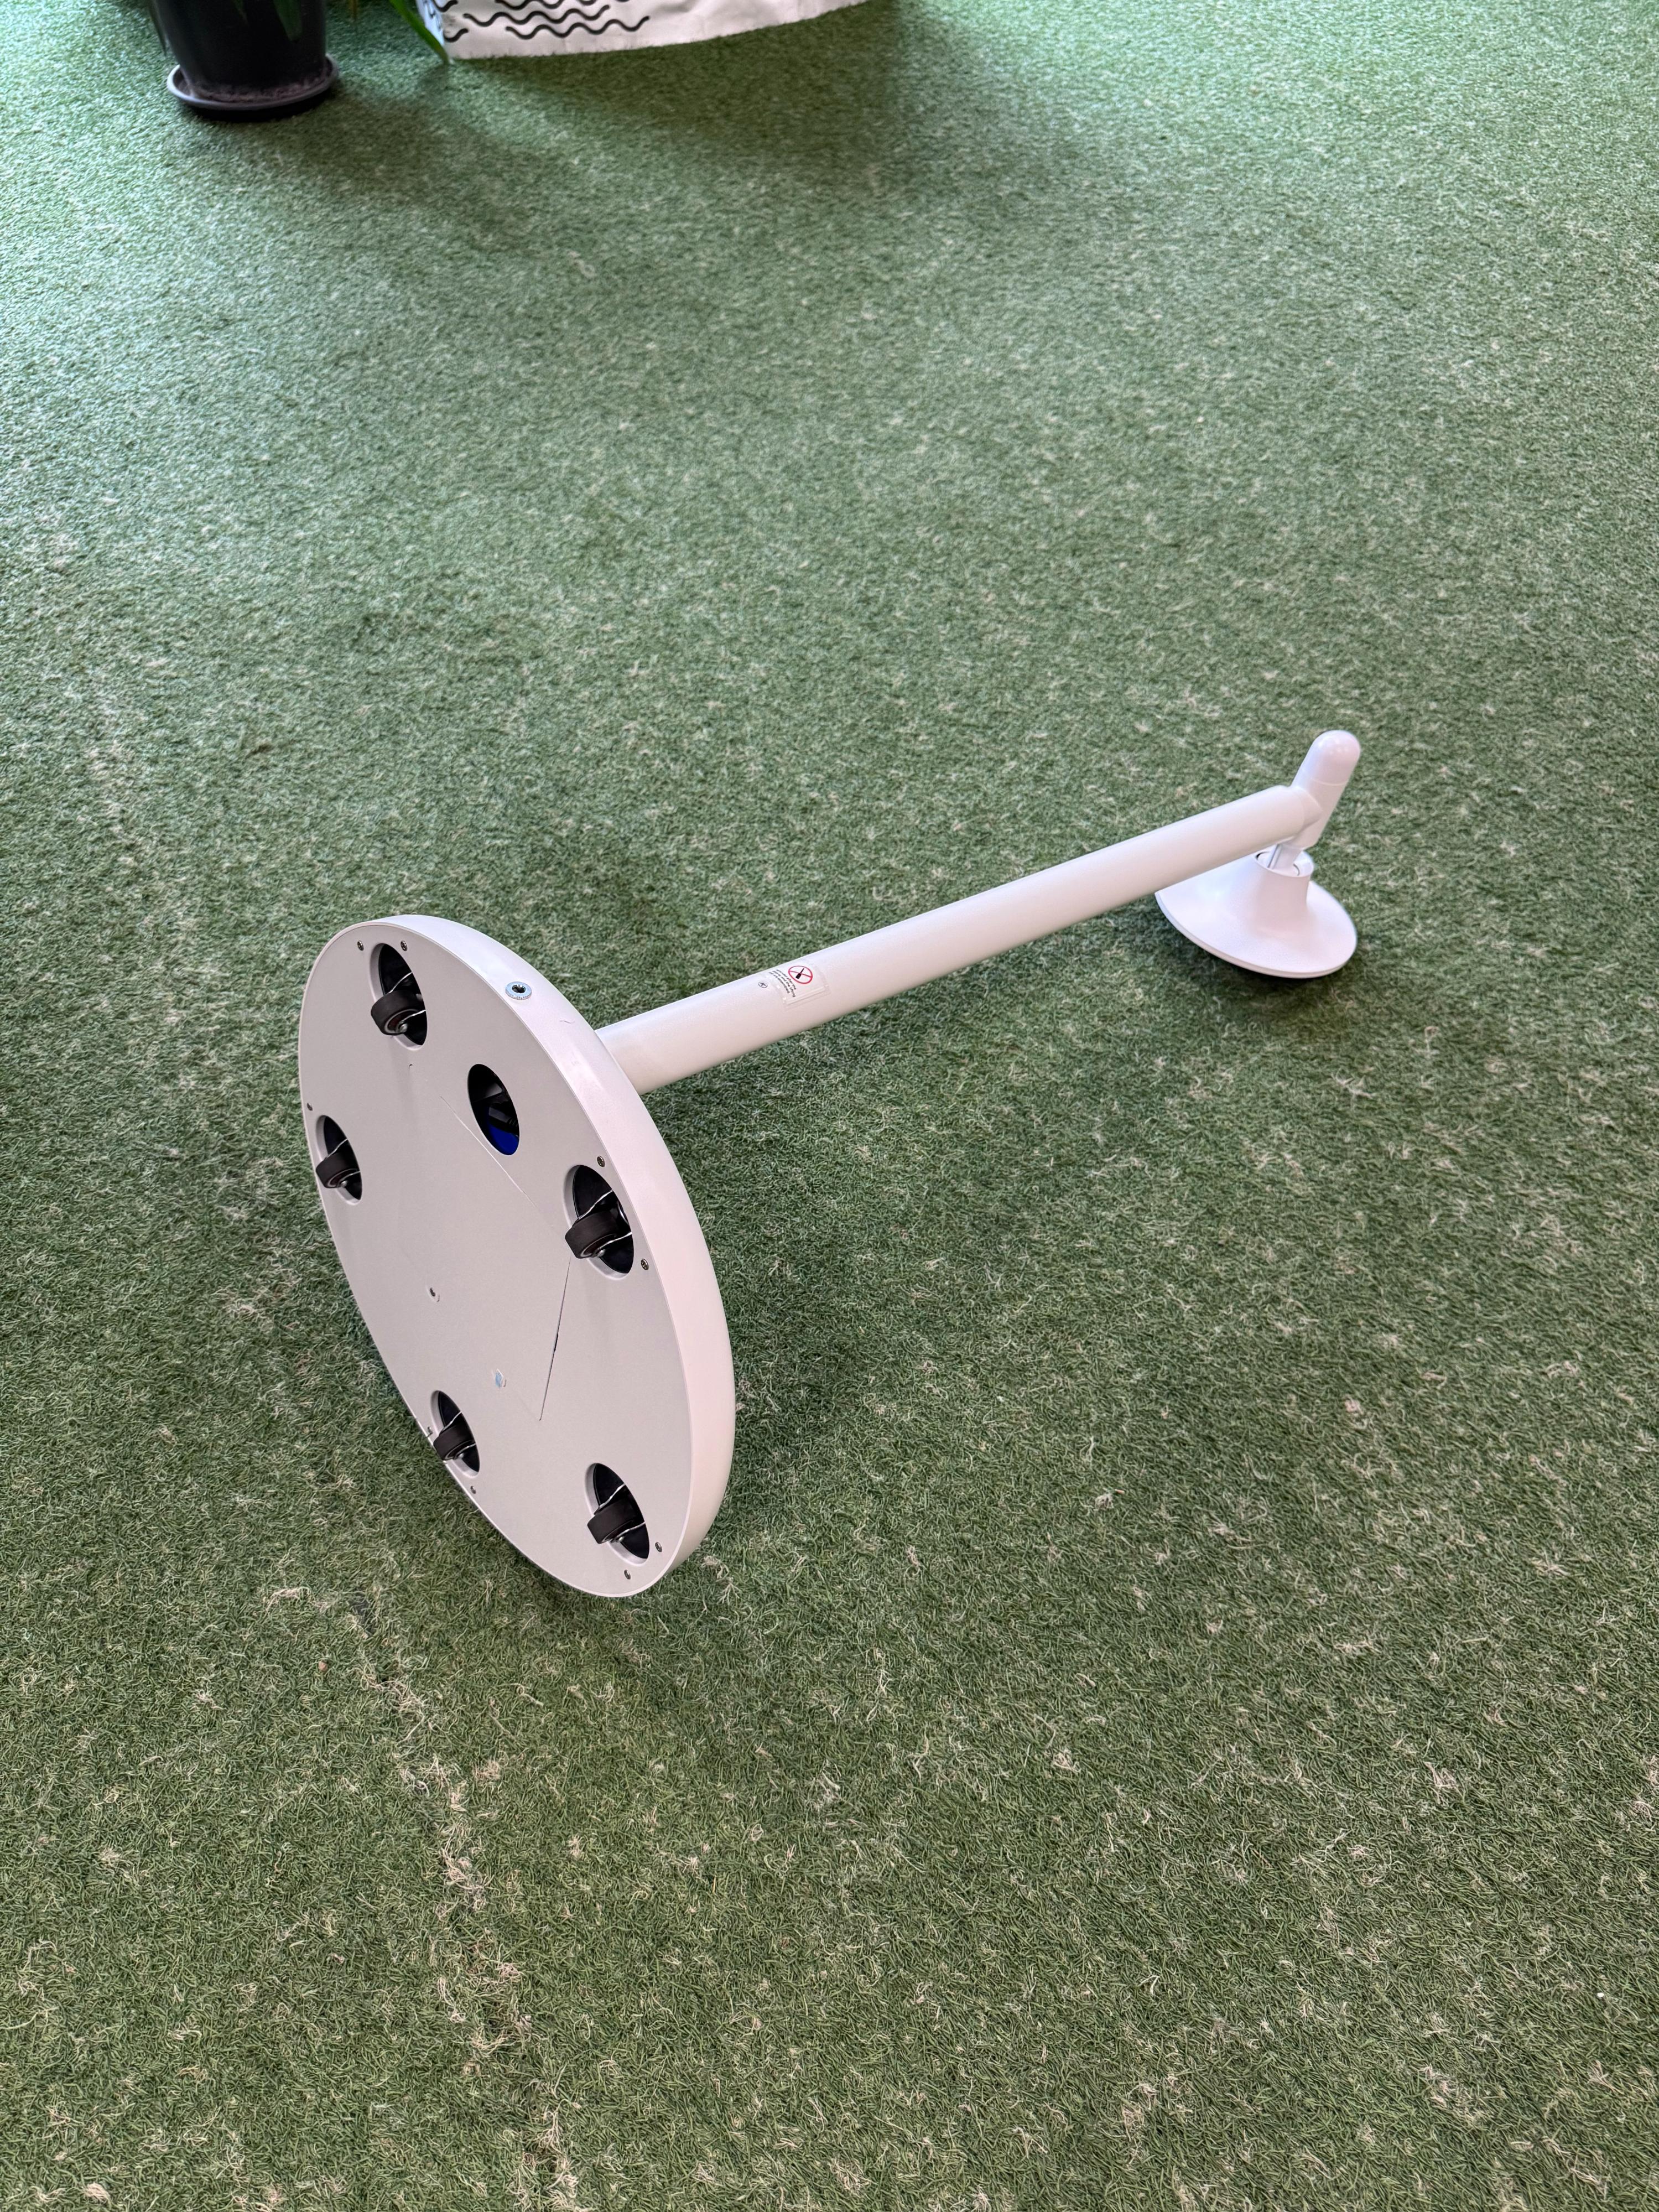
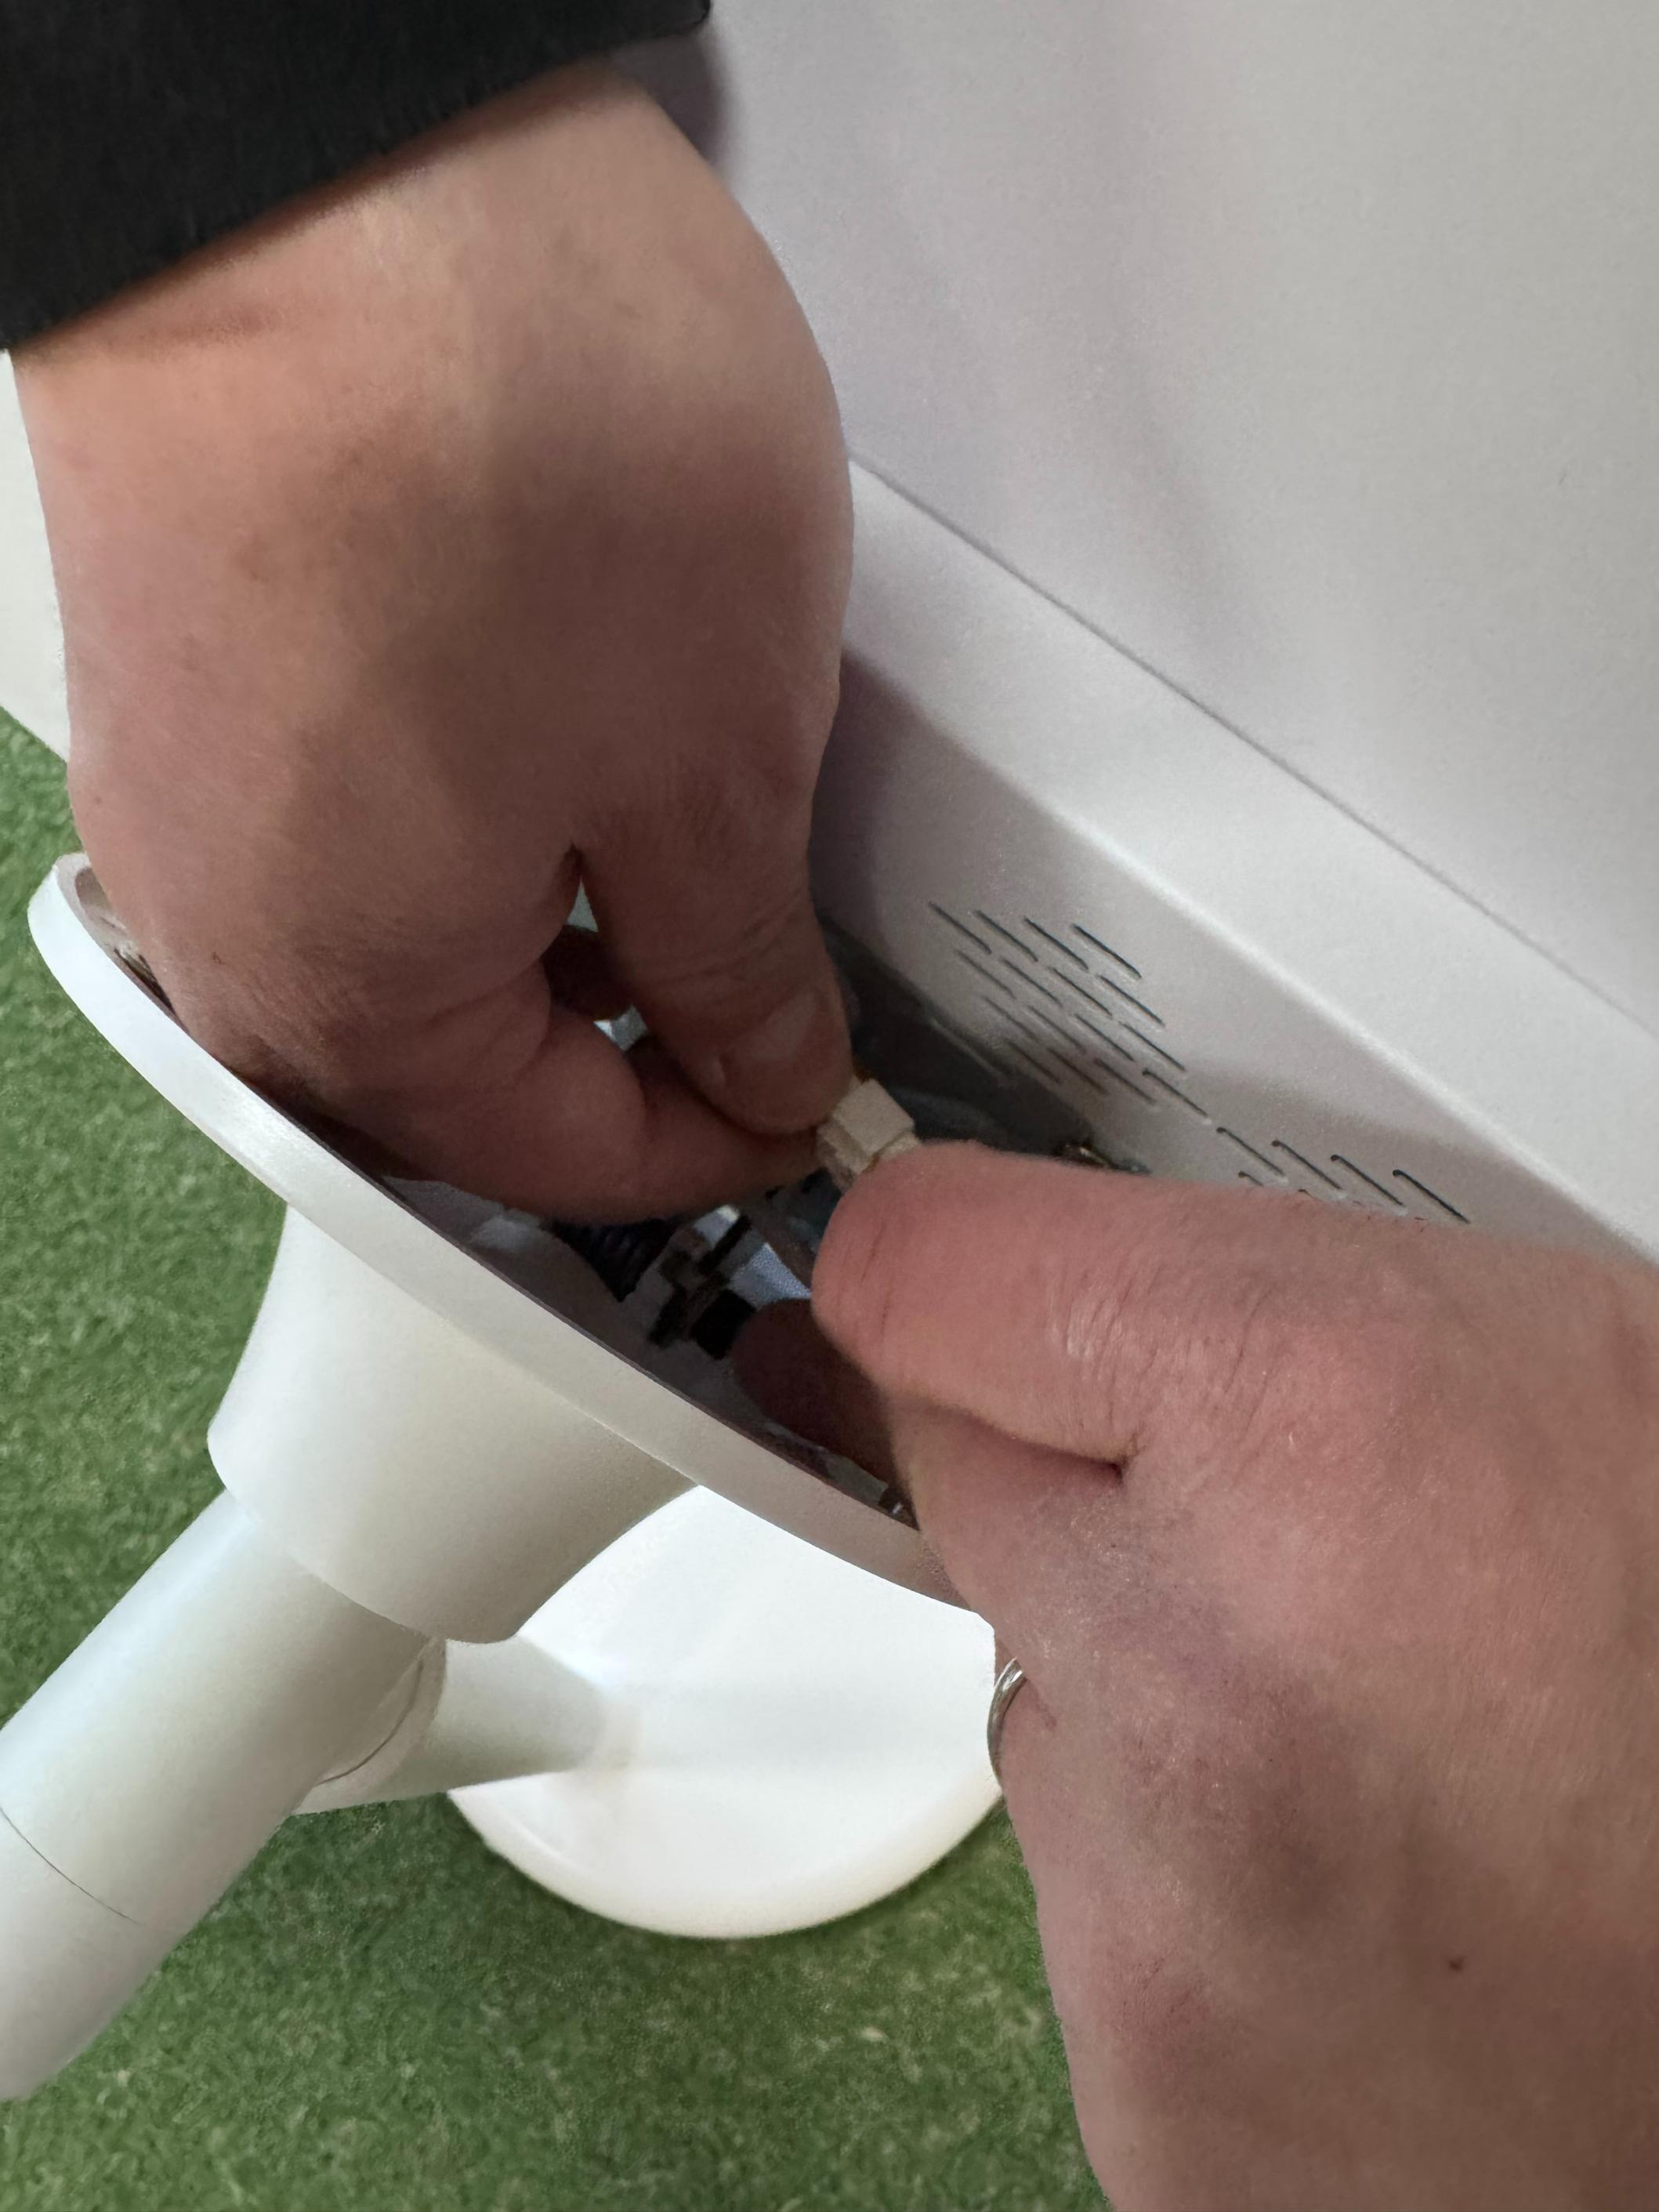
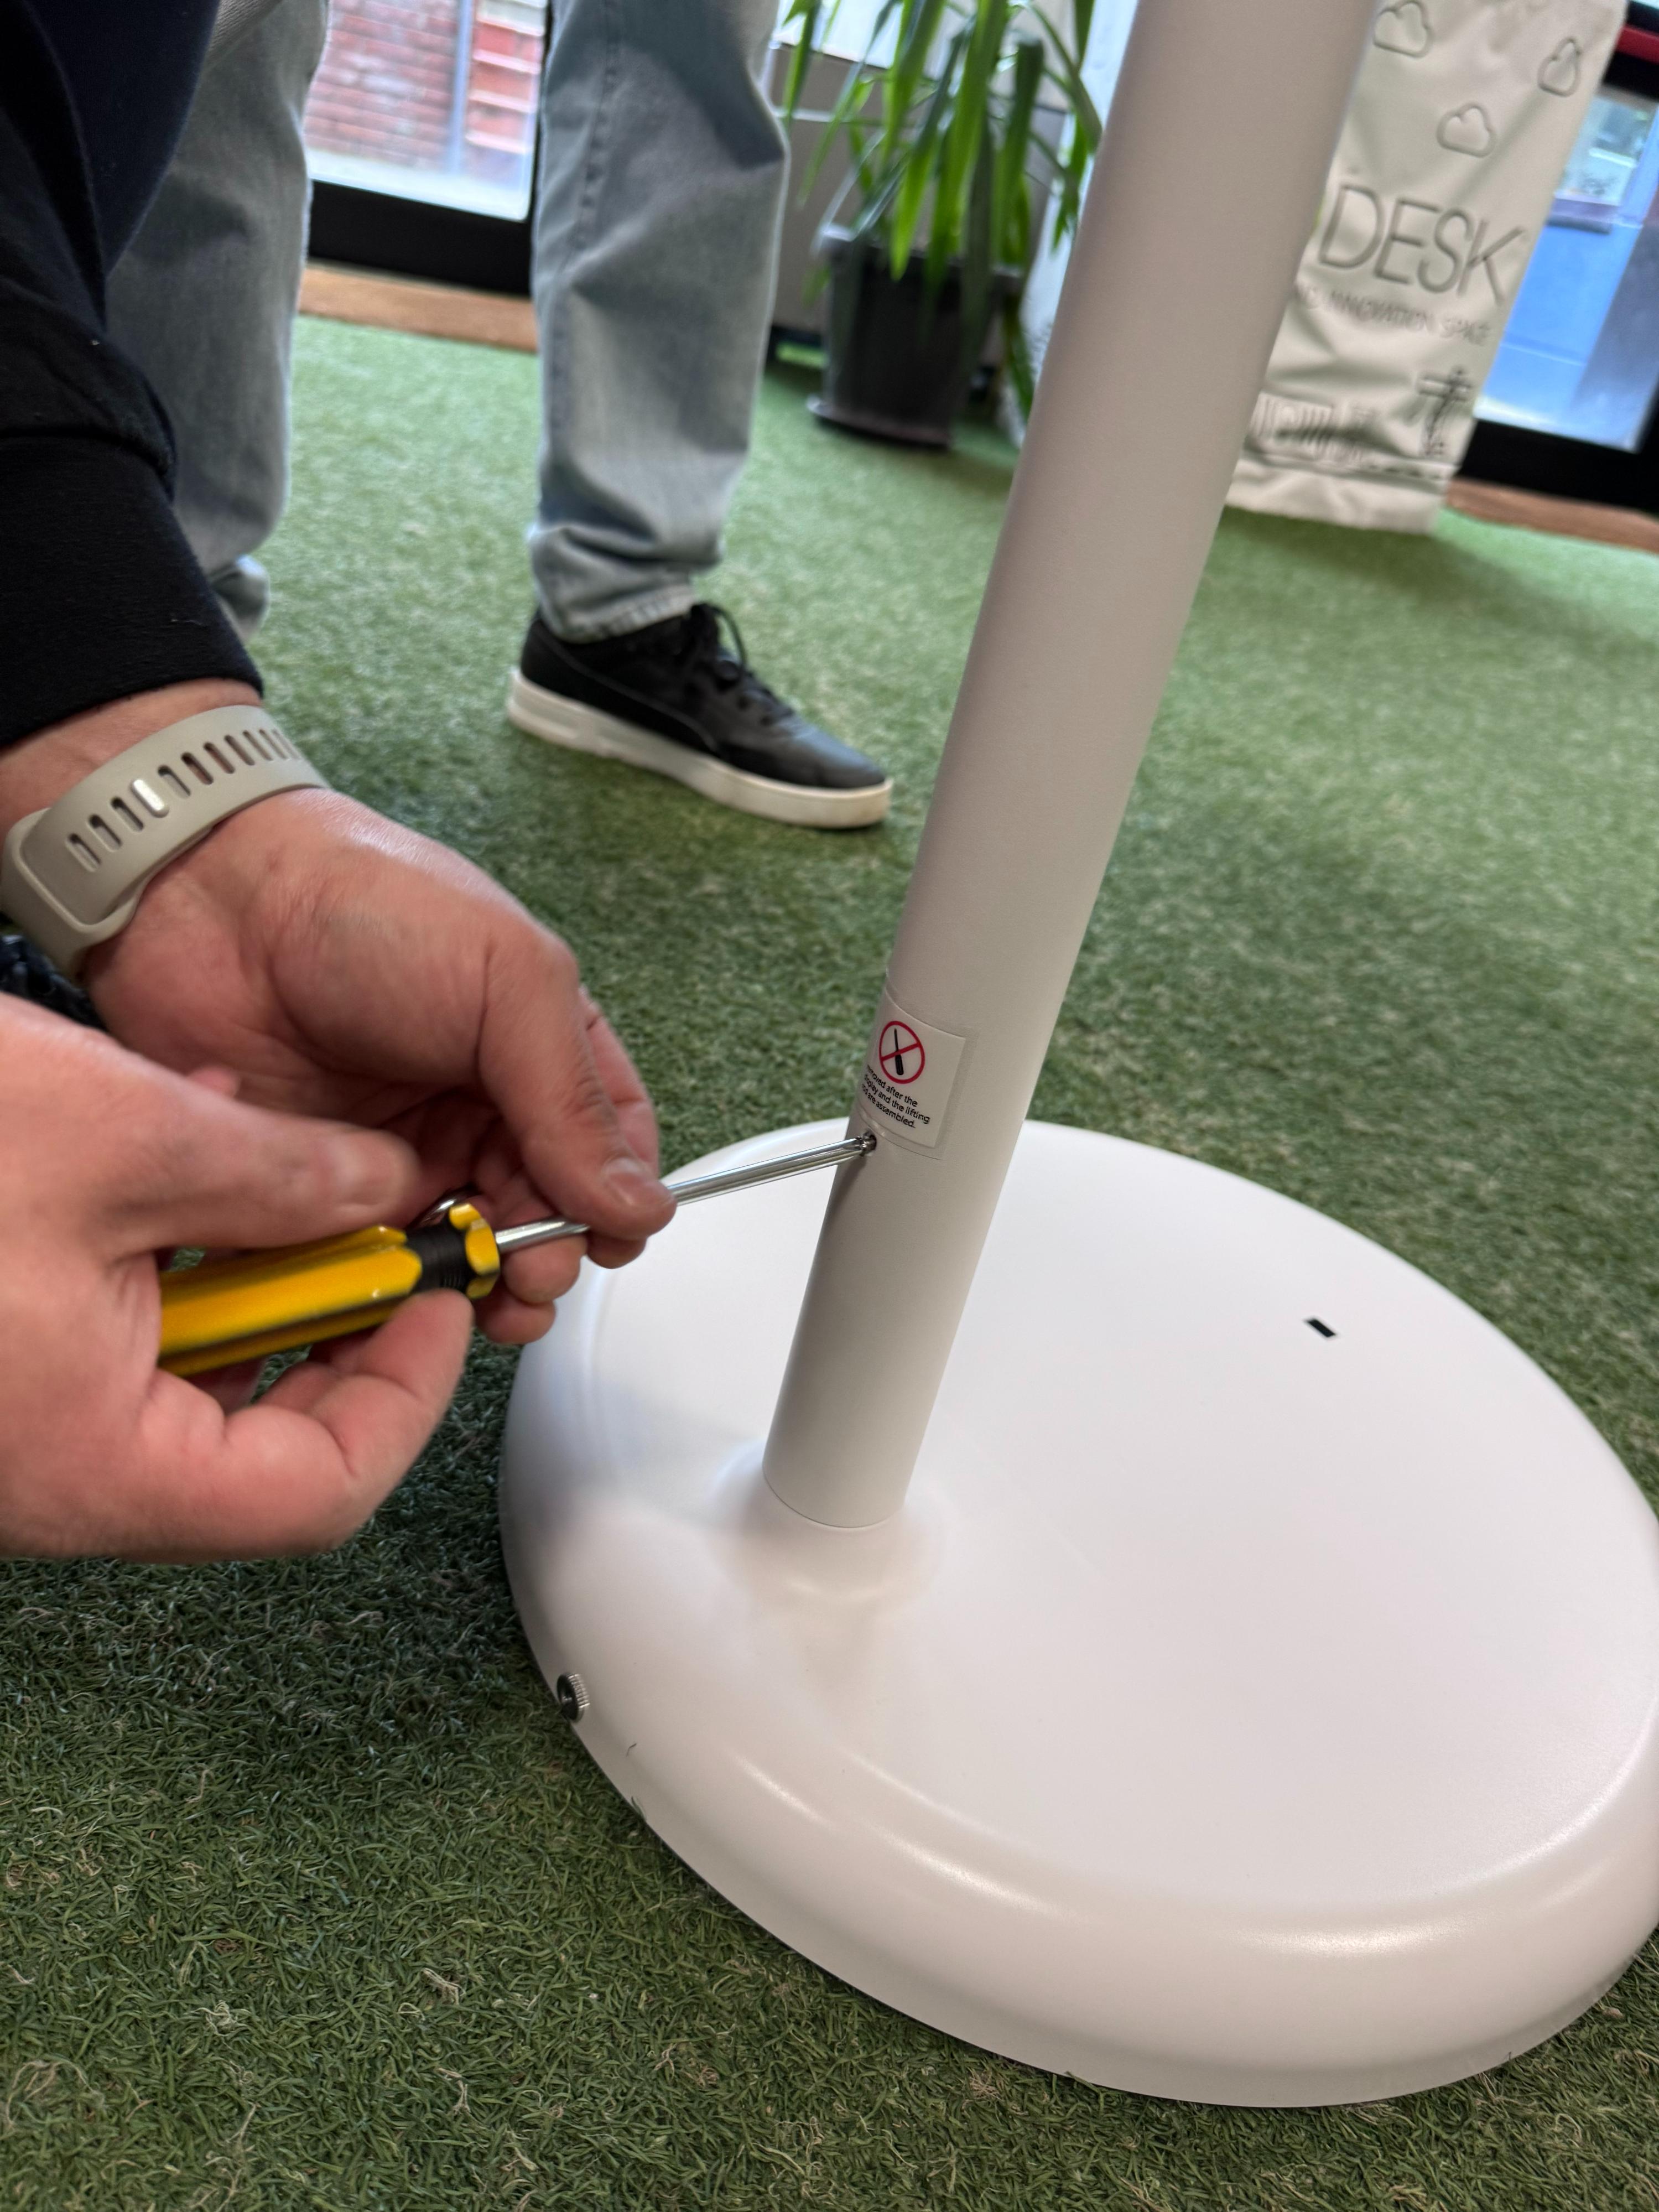
Step 4 — Secure the pole to the base
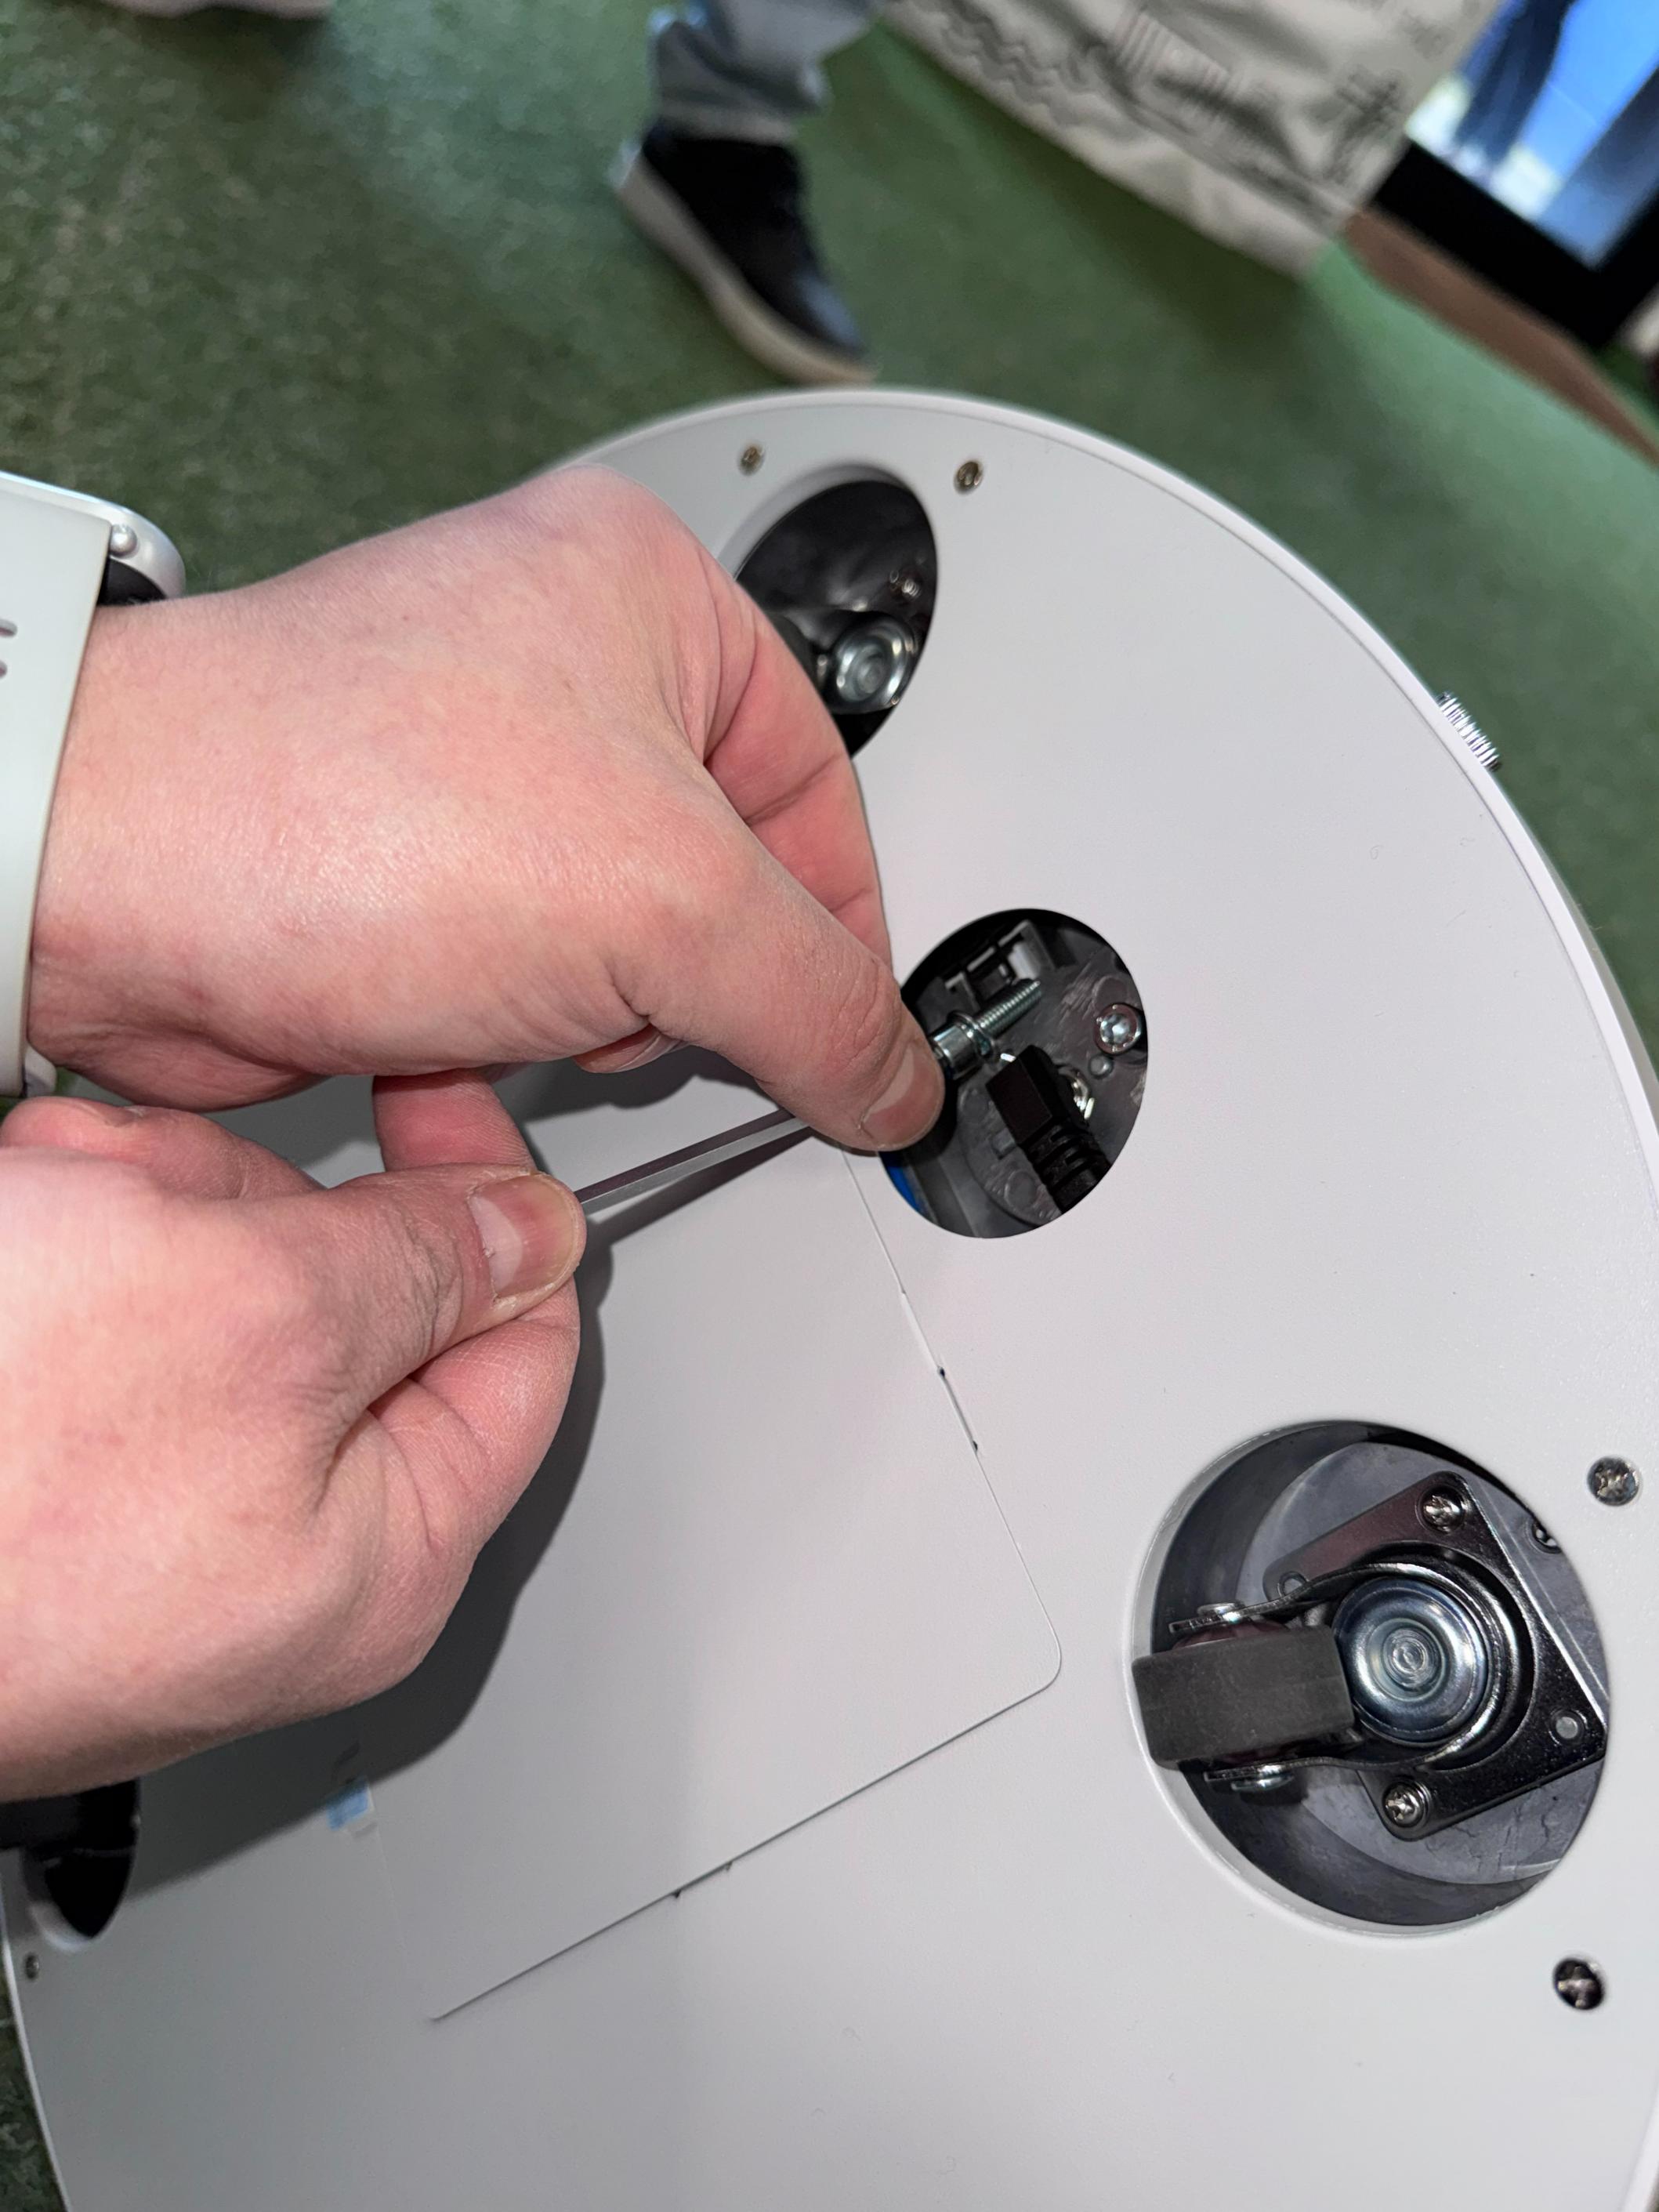
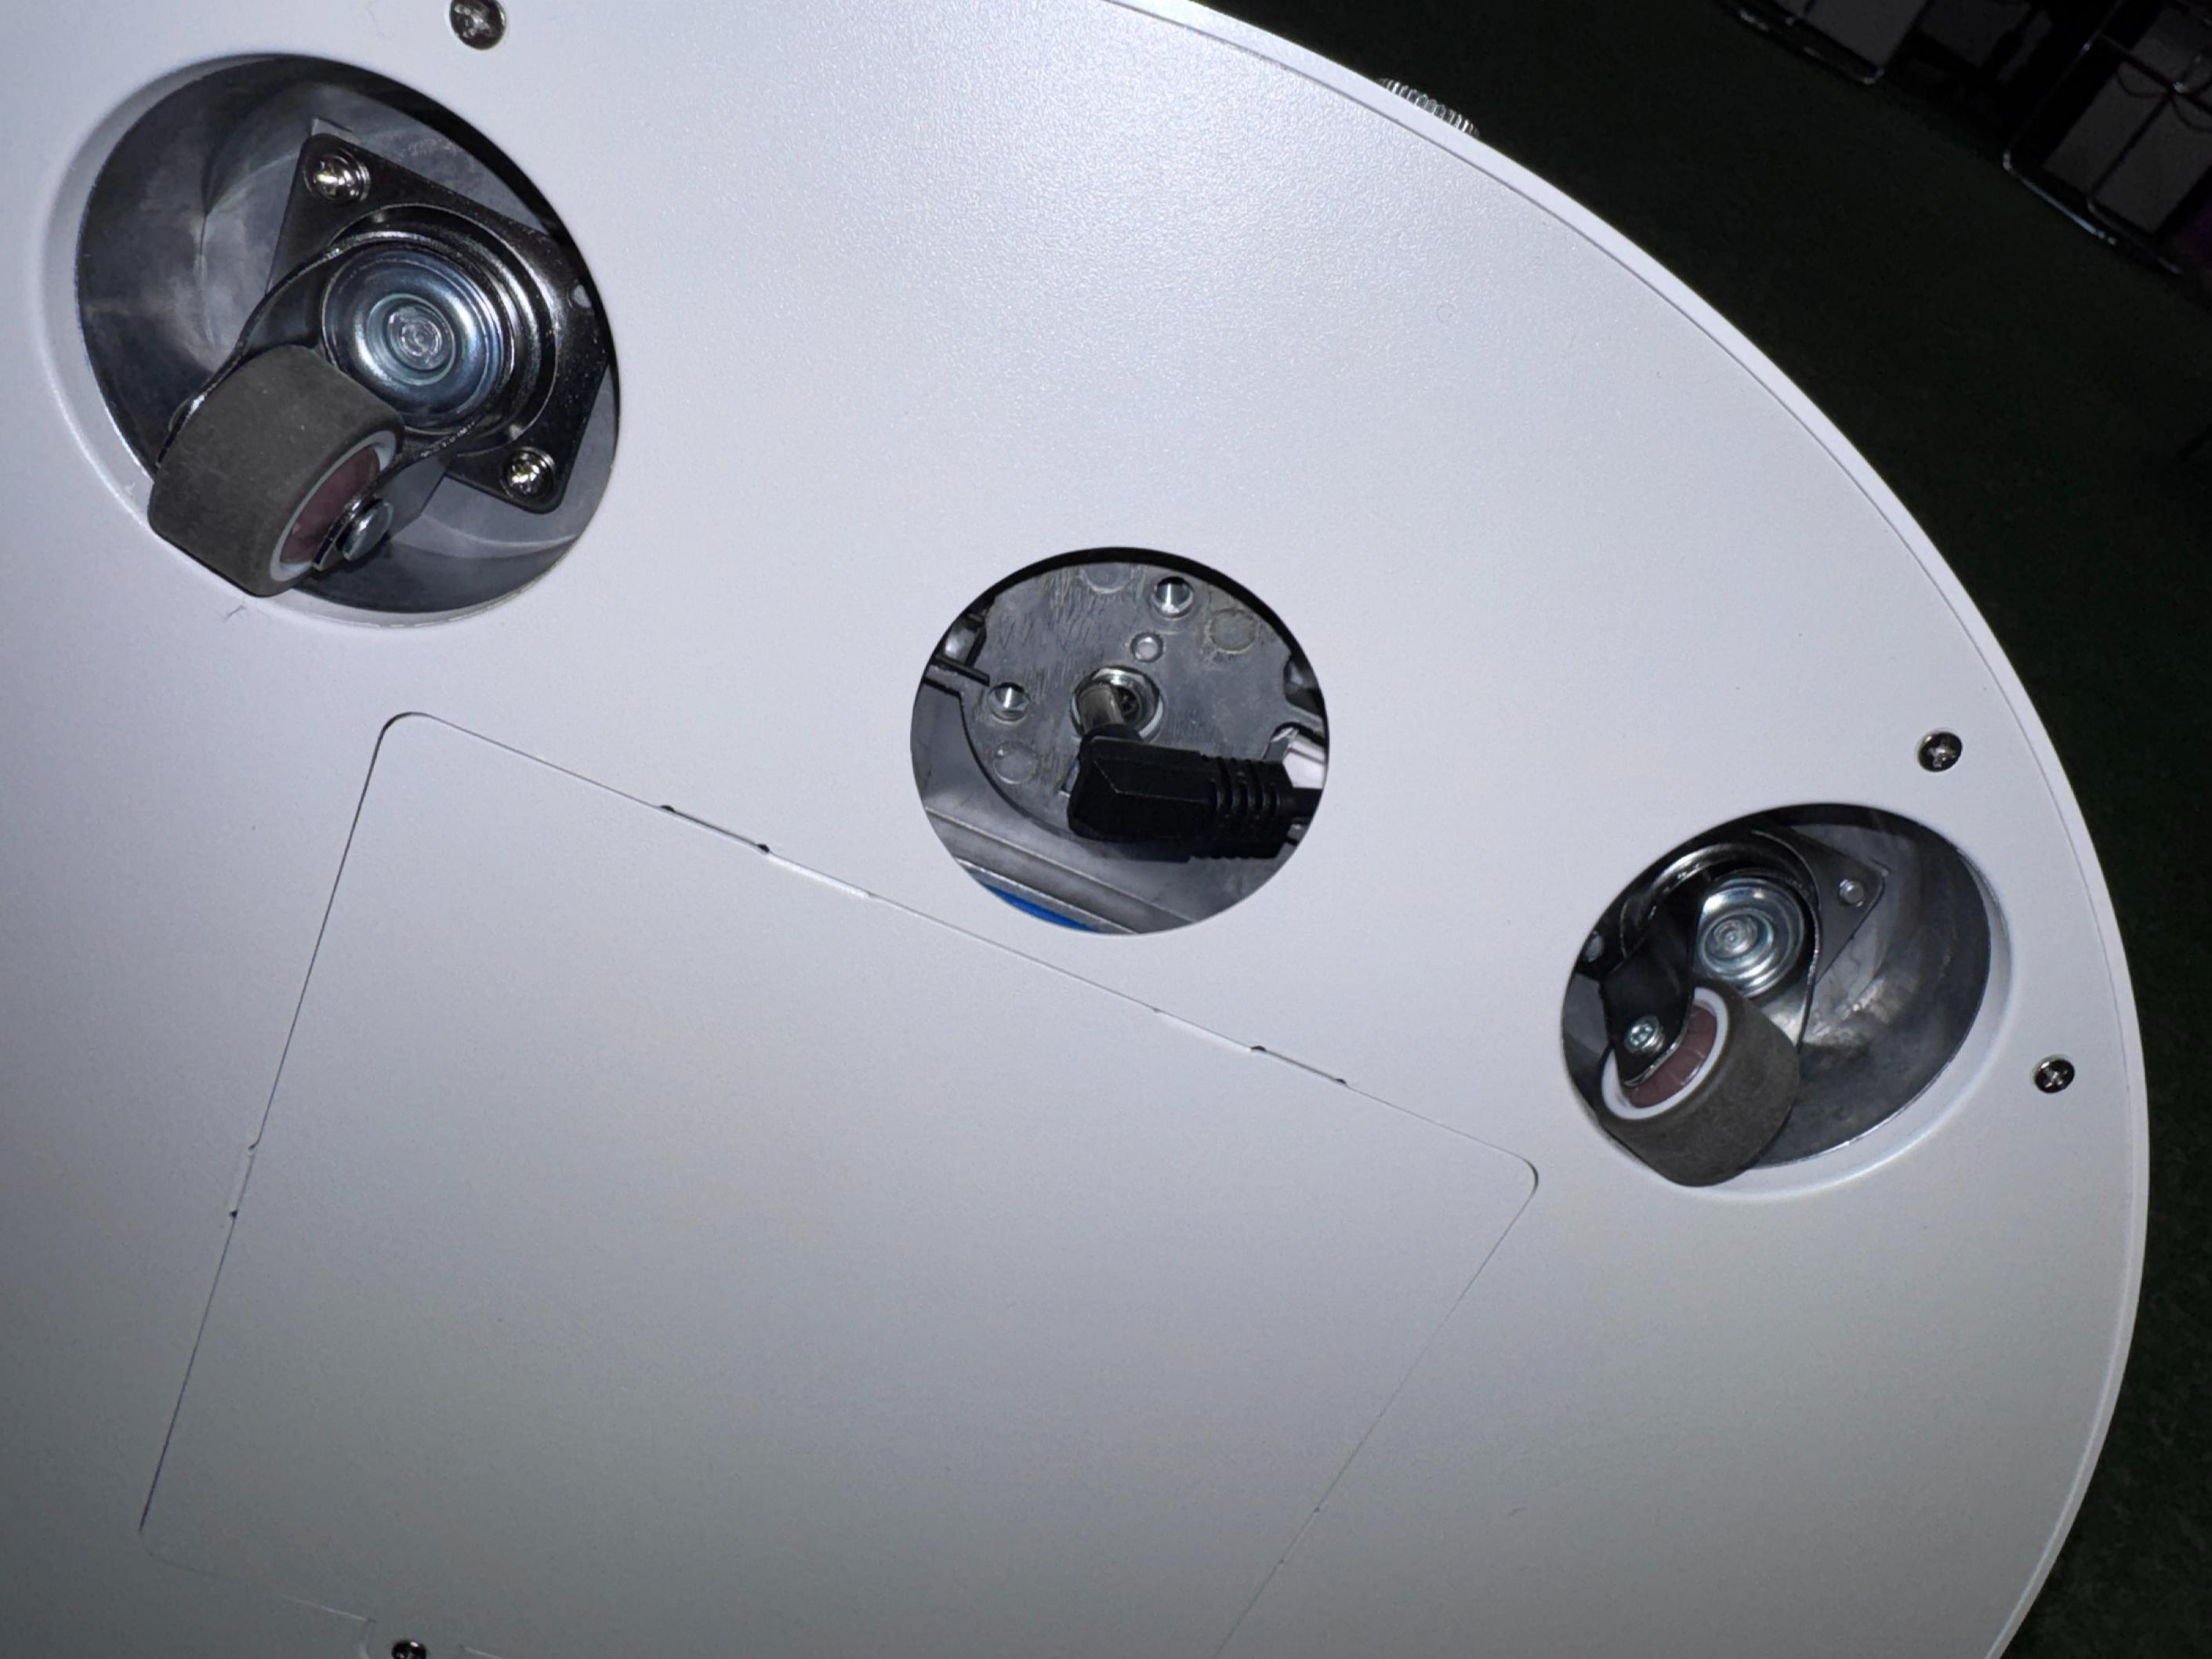
With the assembly lying horizontally, flip the base over to access the mounting holes on the bottom. Using the Allen key provided, tighten the 3 hex screws into the holes under the base. Through the caster openings, also connect the power cable to the internal connector.
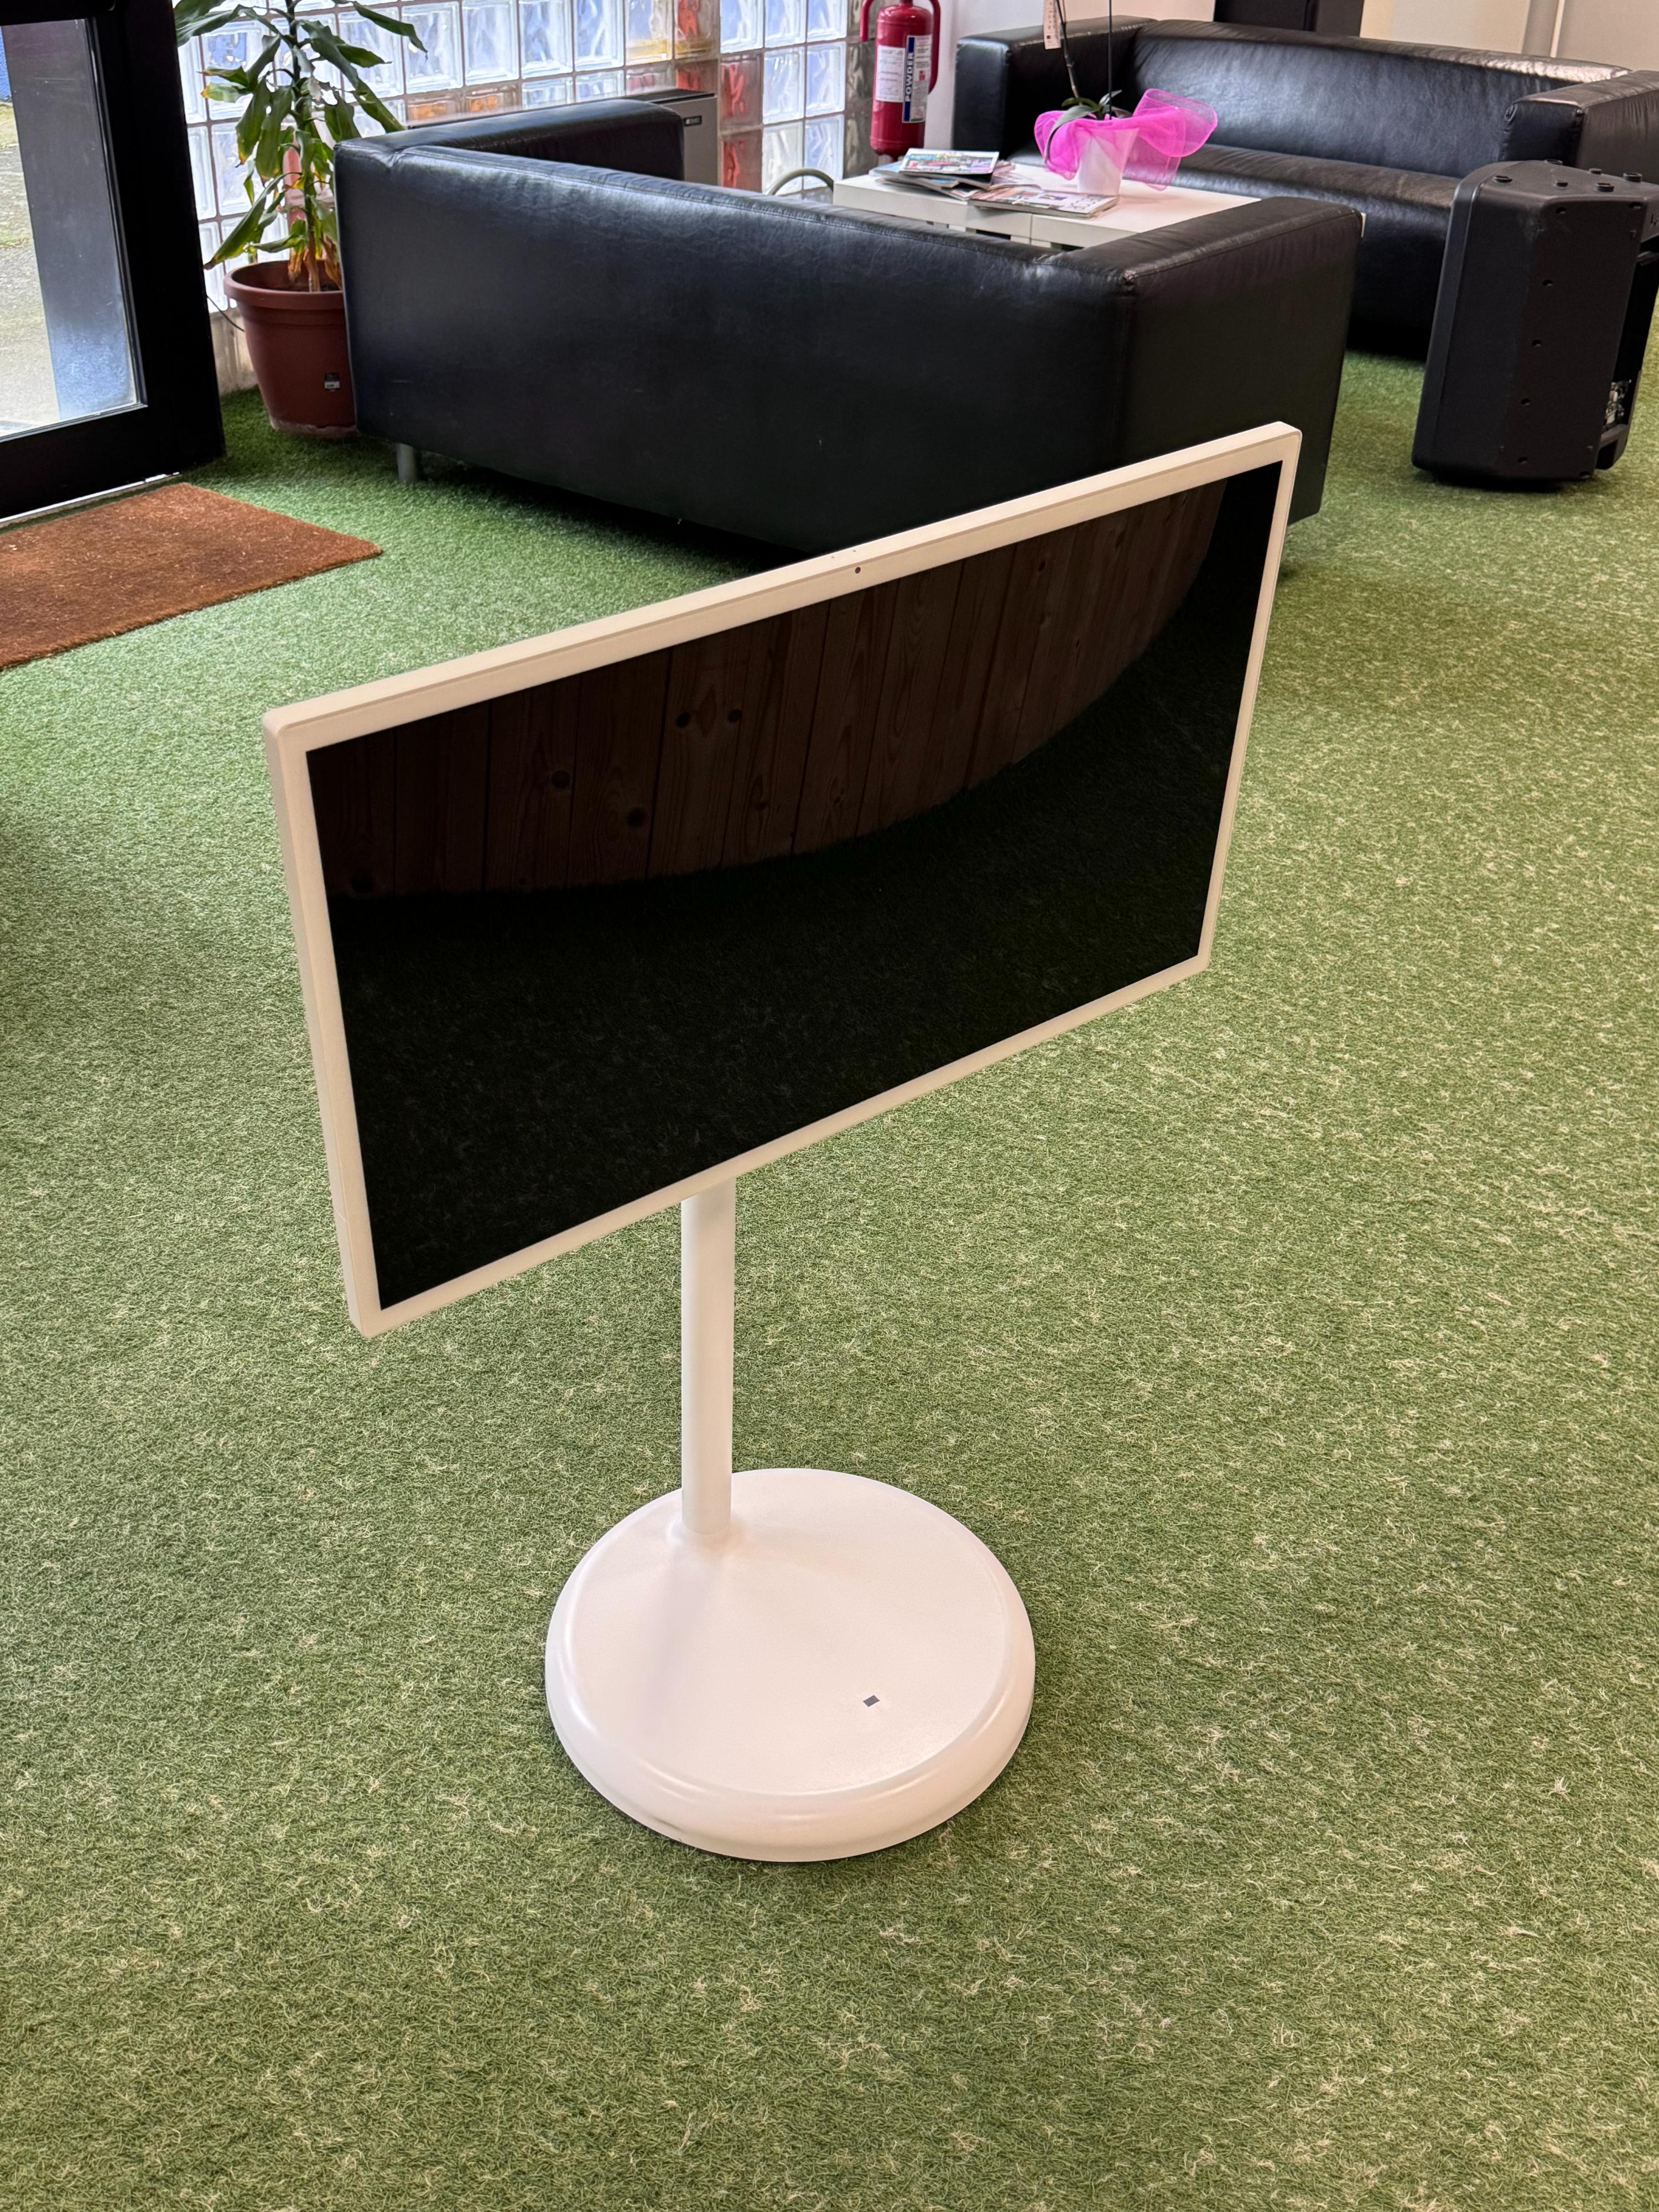
Step 5 — Stand upright
Once the pole is secured and the power cable is connected, return the base + pole assembly to a vertical position.
Step 6 — Prepare the monitor
Remove the monitor from the box and carefully peel off the protective film.
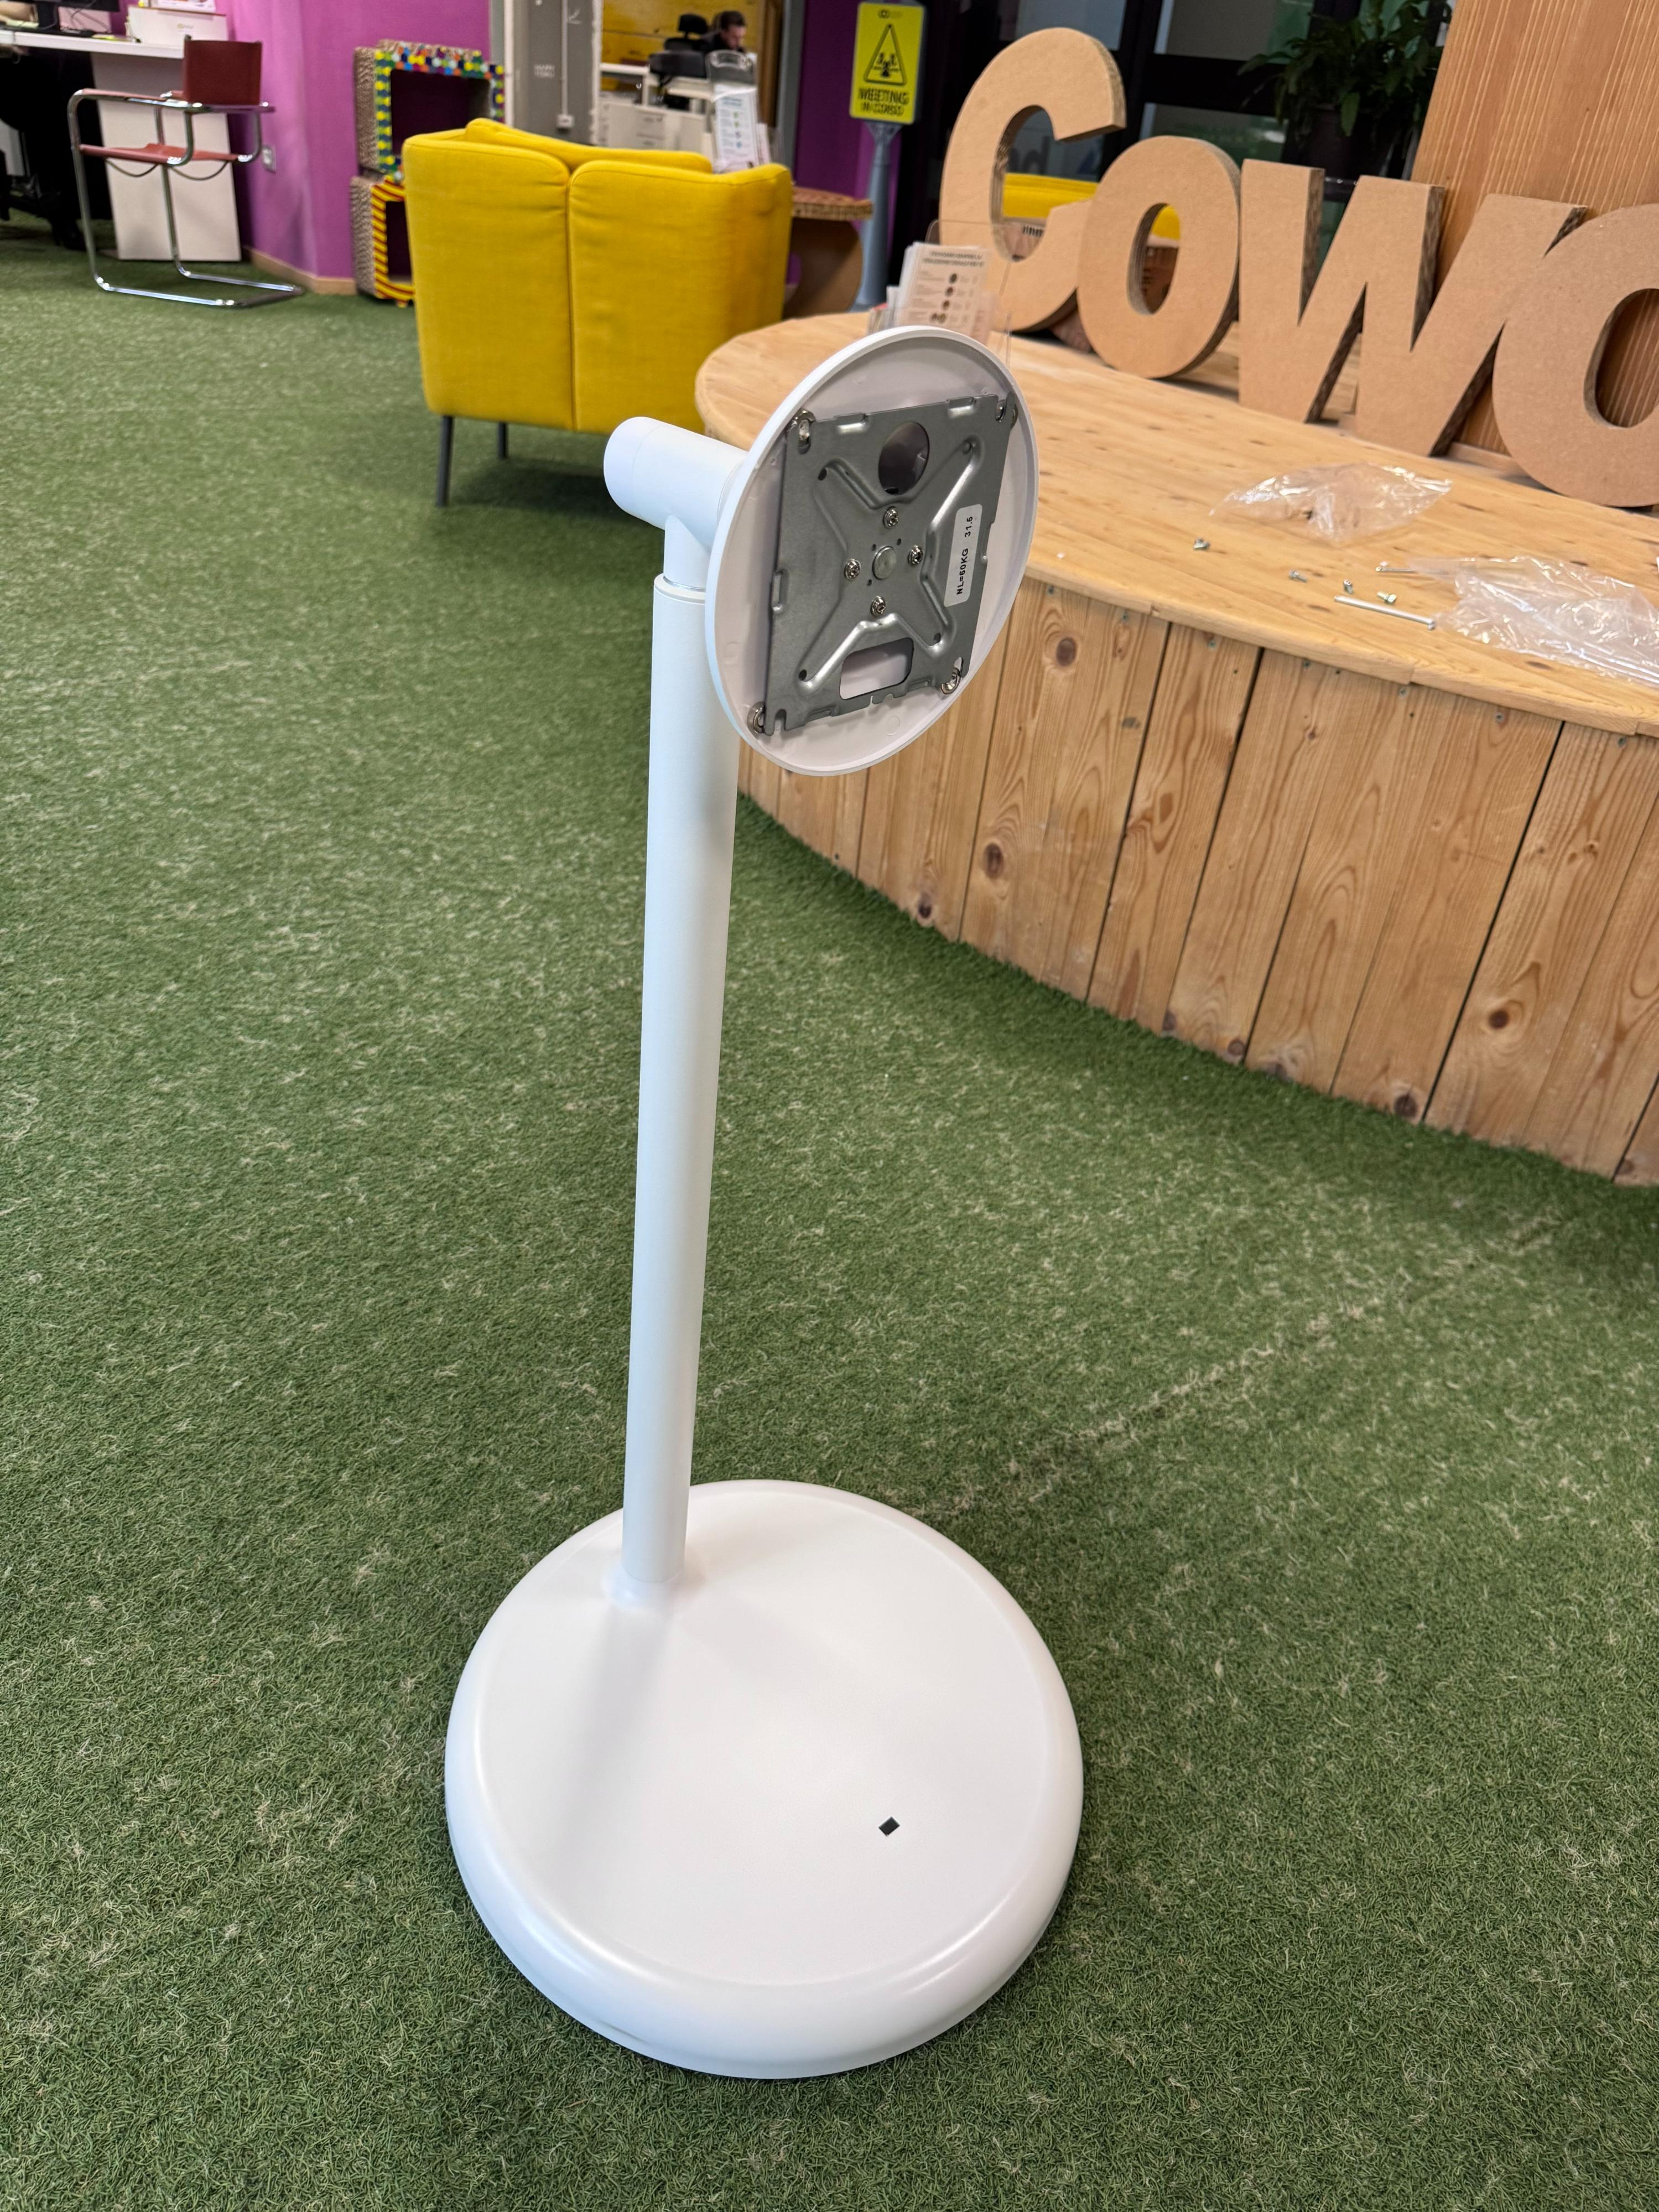
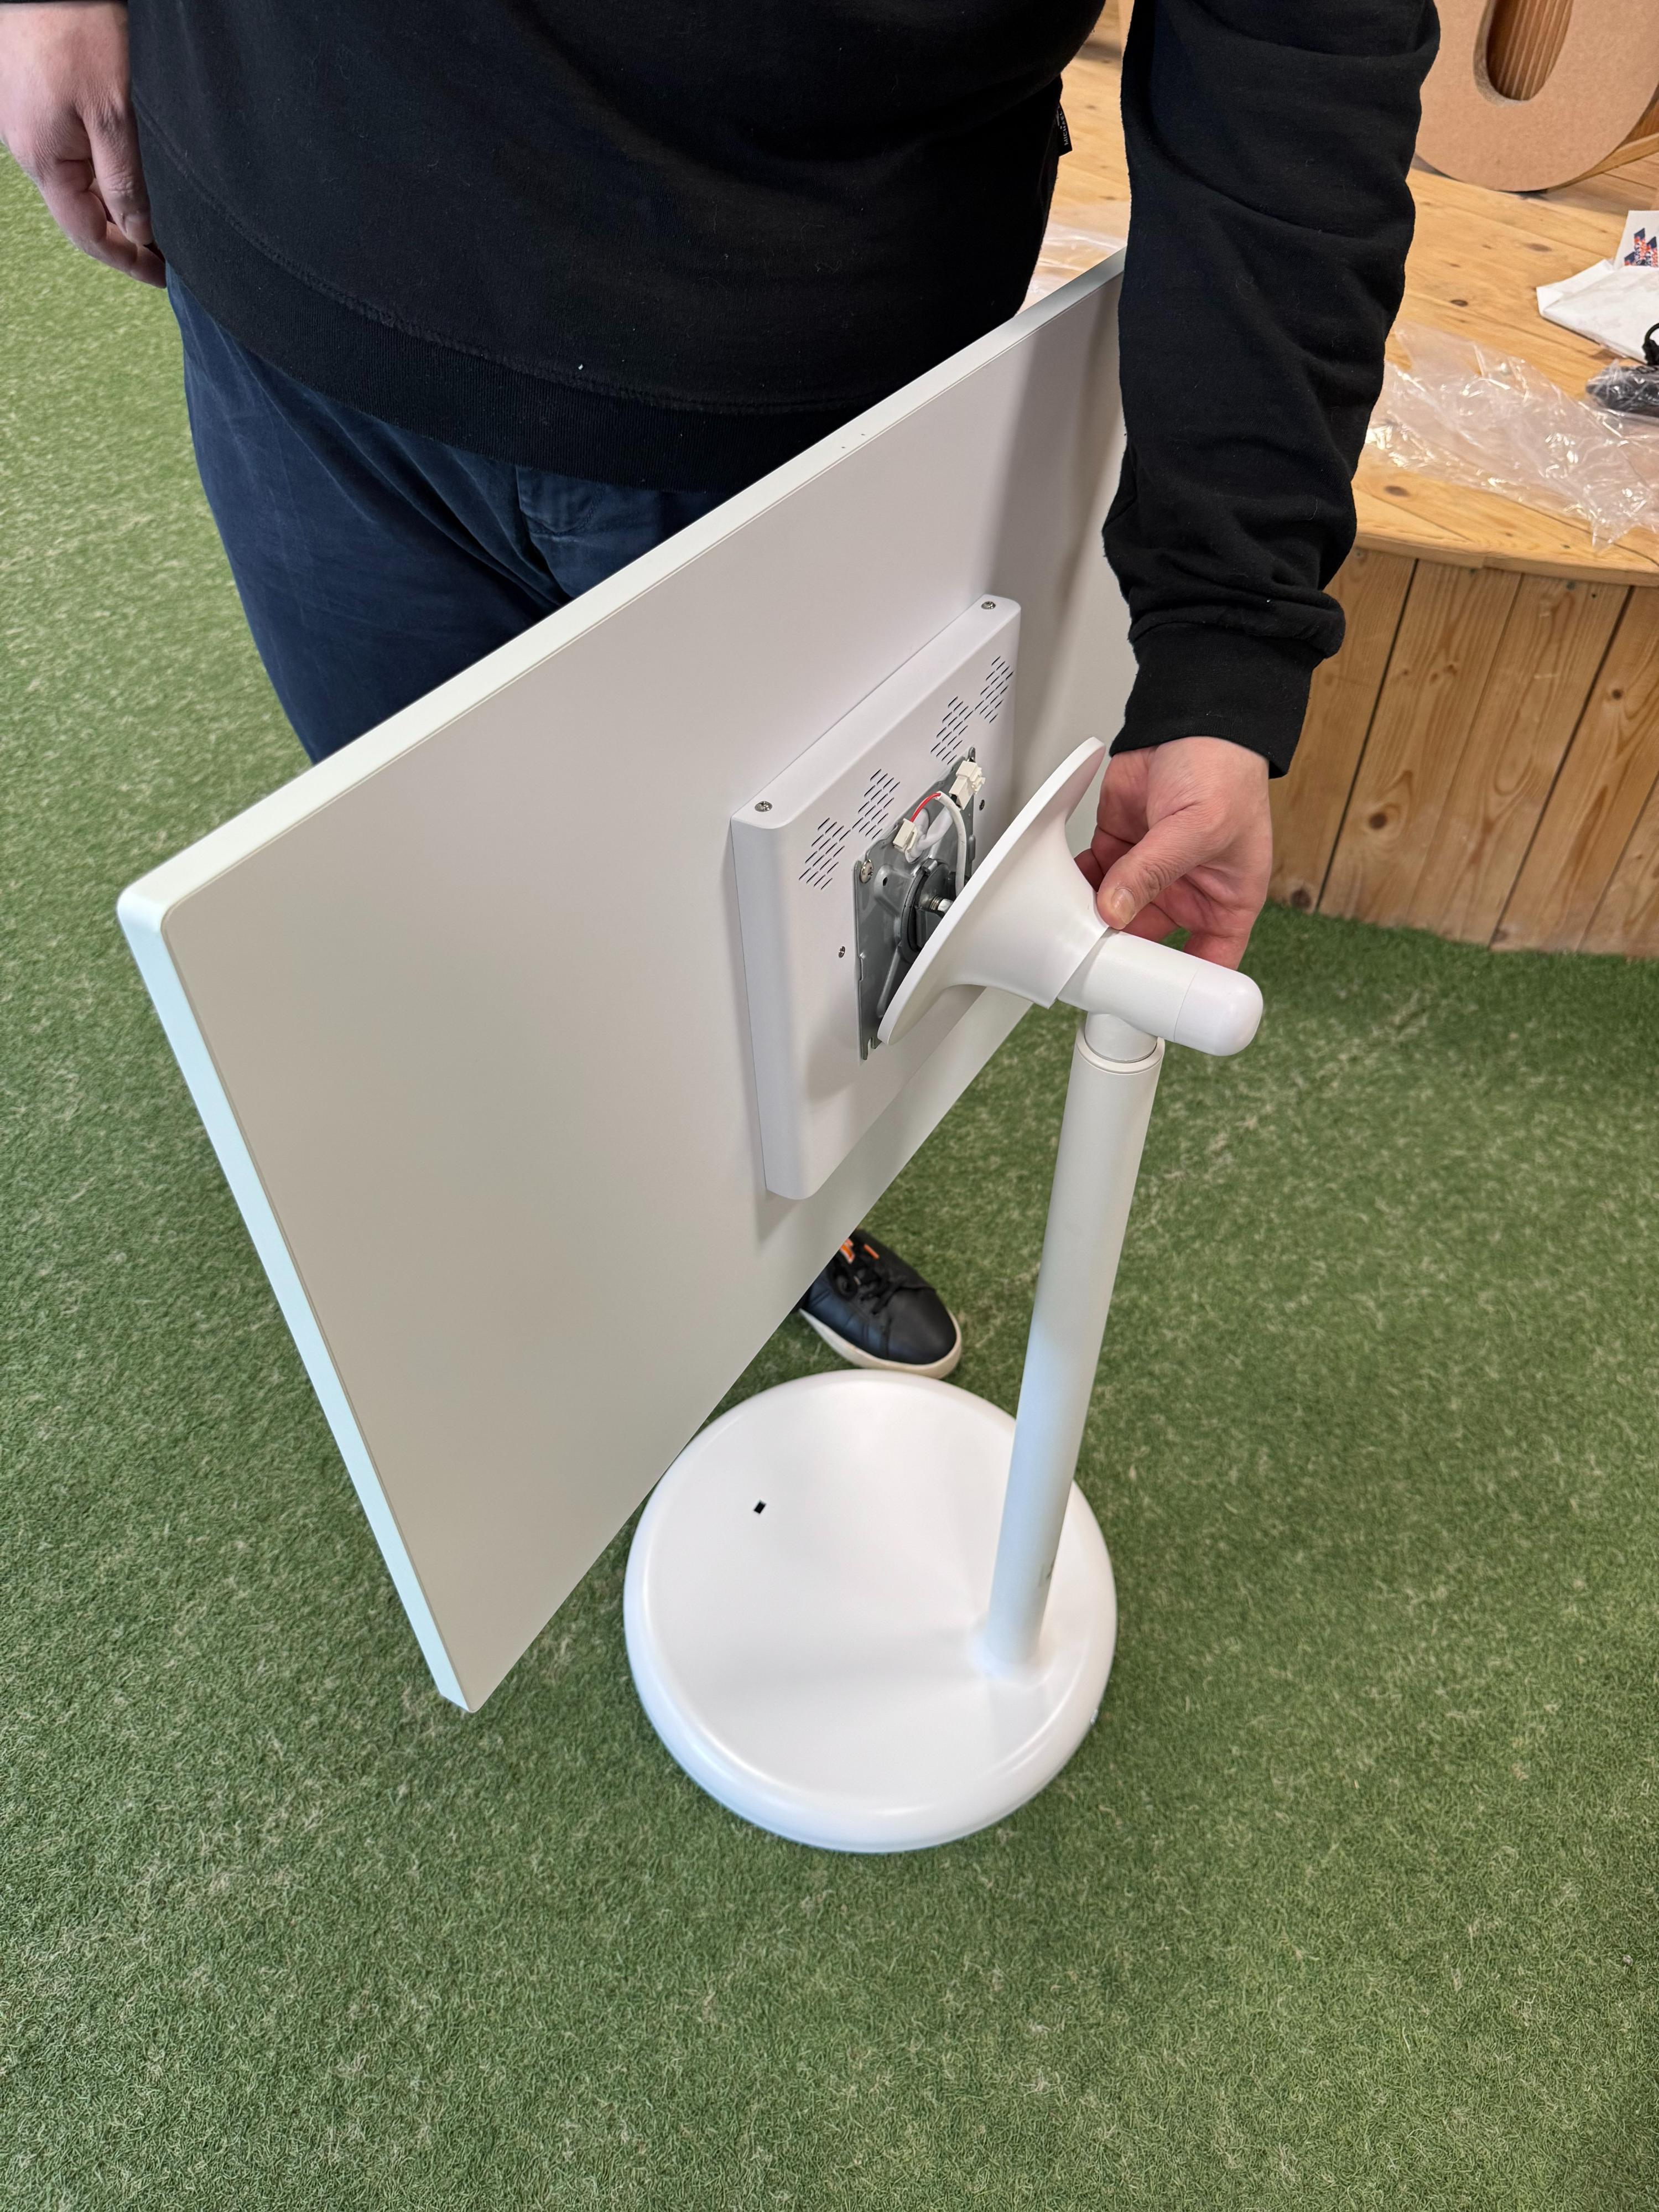
Step 7 — Mount the monitor onto the stand
Slide the monitor into the VESA mount rails on the bracket. Connect the monitor's power cable to the corresponding port on the back.
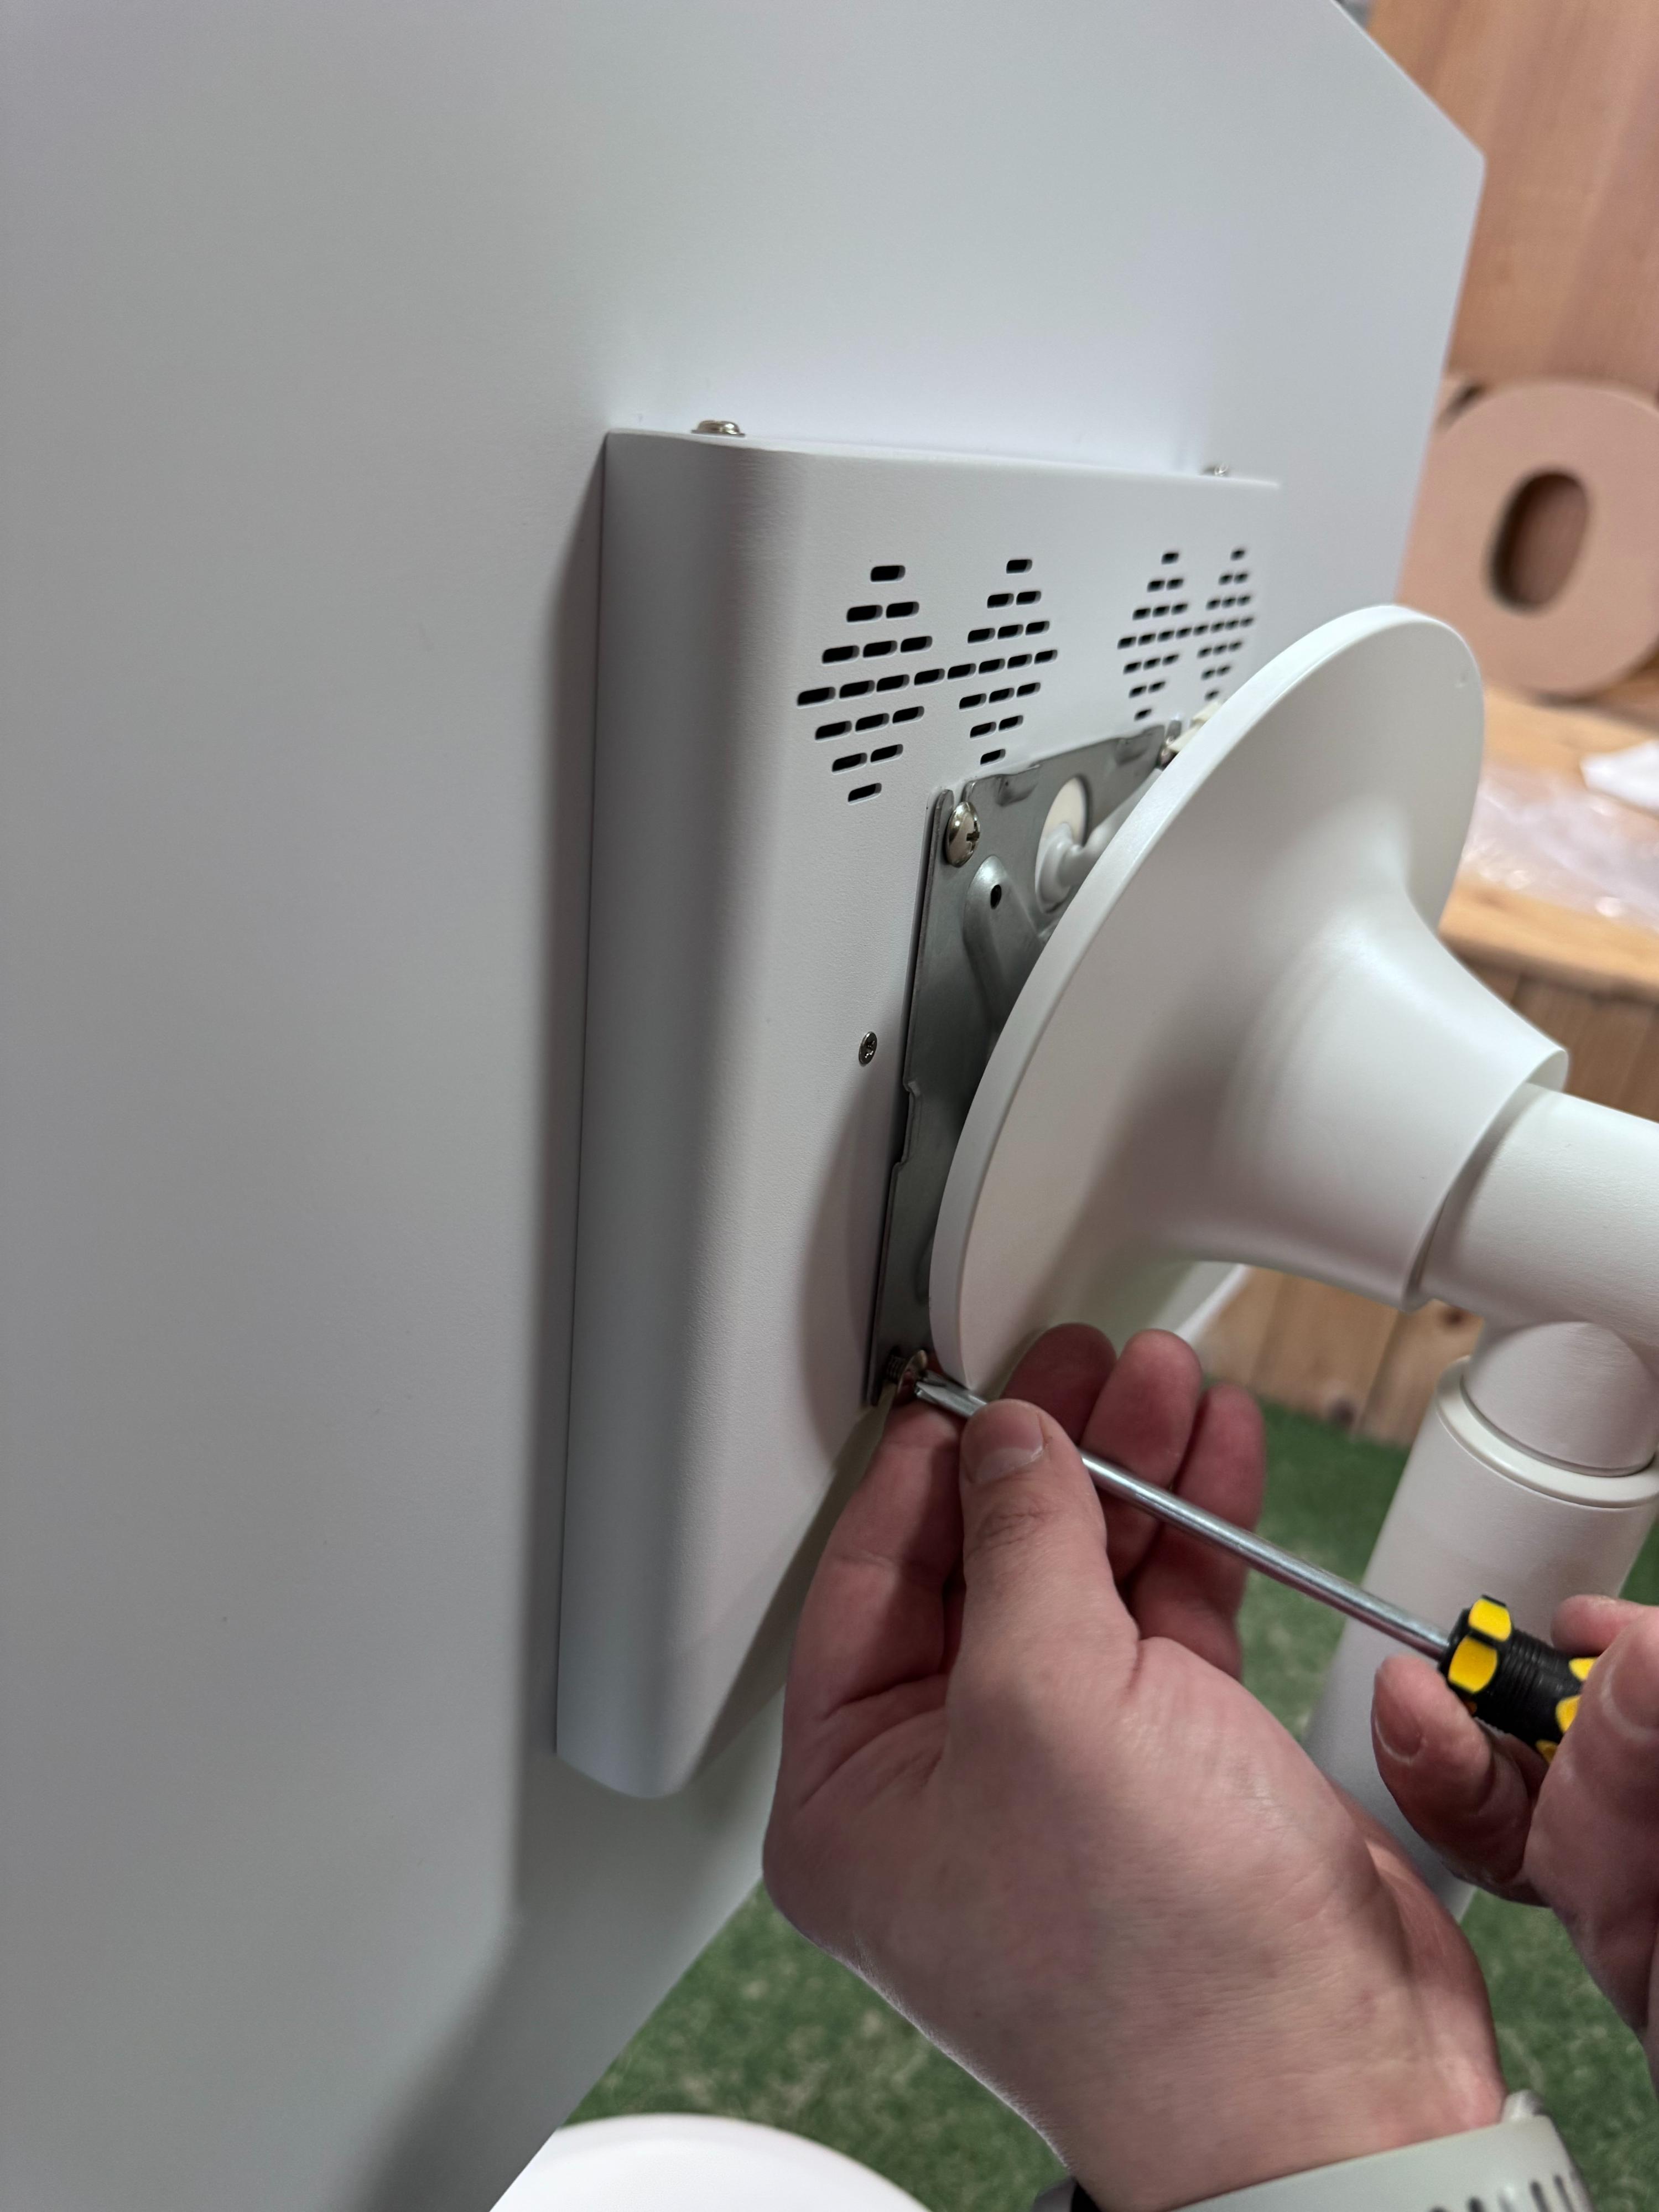
Step 8 — Fasten the monitor screws
First tighten the 2 bottom screws (not yet installed), then the 2 top screws using the screwdriver provided. The monitor is secured with a total of 4 Phillips screws to the VESA mount.
Step 9 — Unlock the height adjustment mechanism
Before raising the monitor to the vertical position, remove the locking screw located at the bottom of the pole. This screw locks the gas piston that controls height adjustment. Once removed, the pole will be free to slide.
Step 10 — Rotate the monitor to portrait mode
Rotate the monitor to the vertical (portrait) position. Make sure the built-in camera on the screen is on the right side.
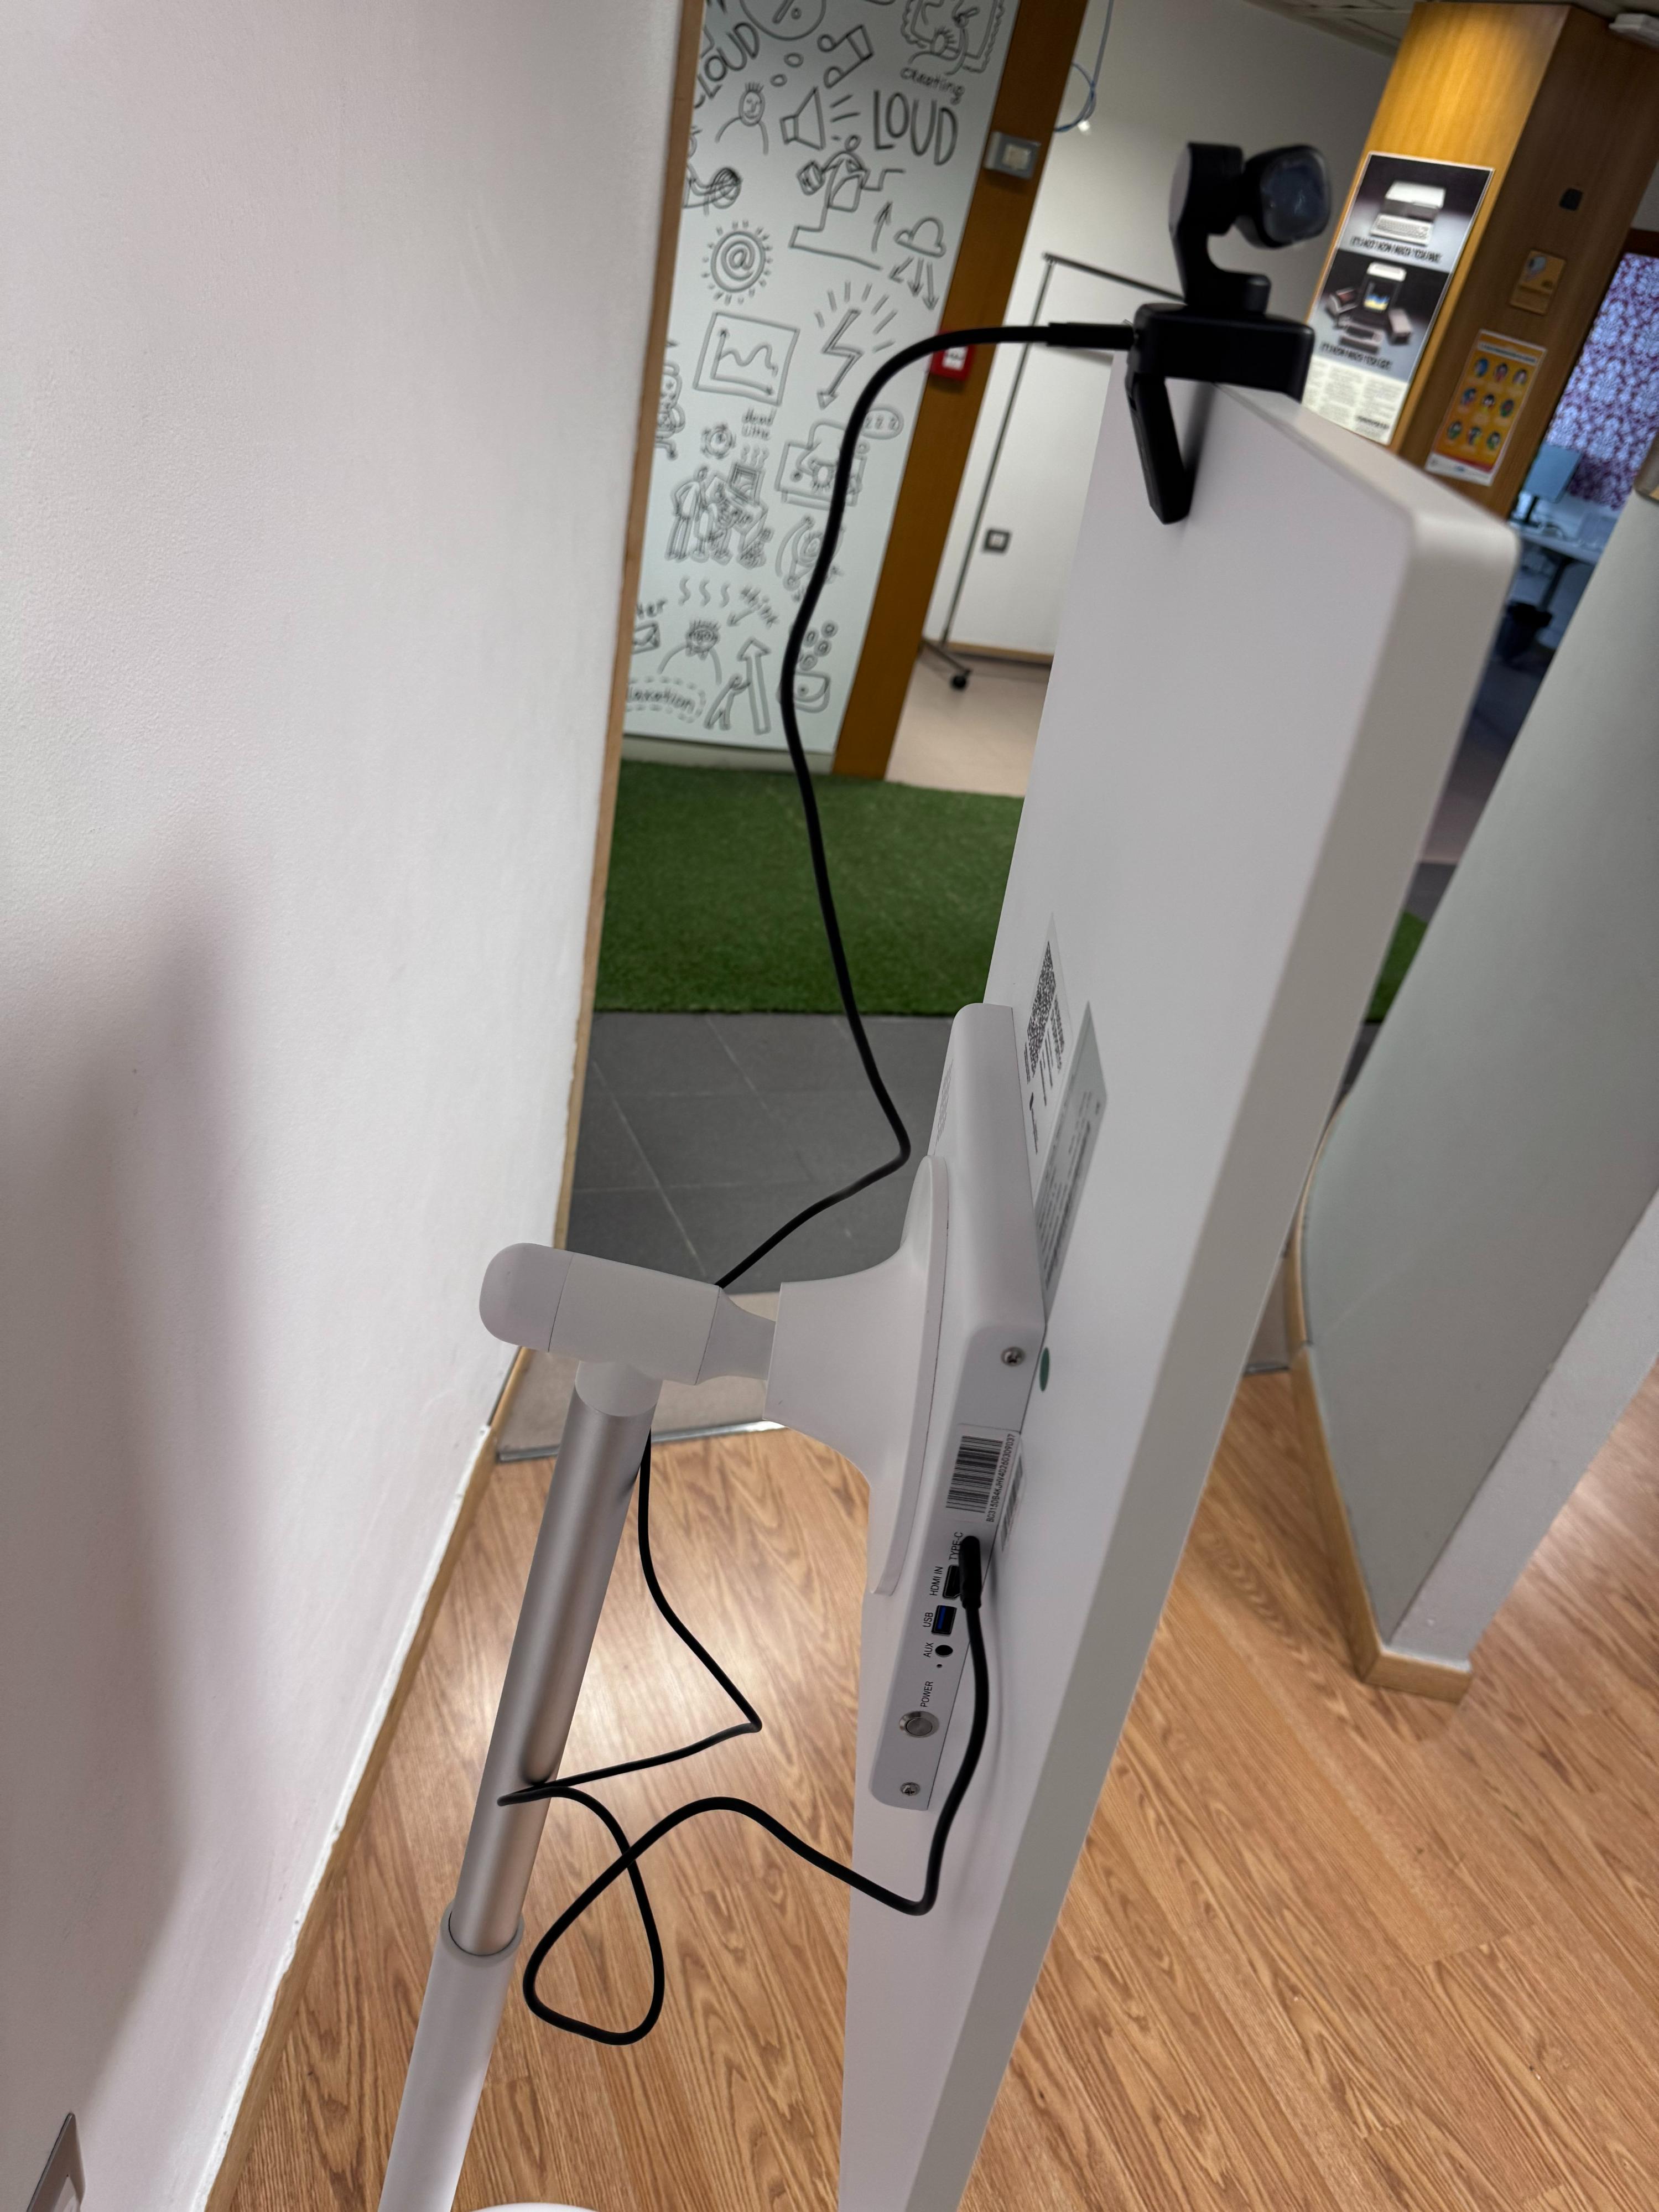
Step 11 — Install the camera
Open the camera box included in the package. Place the camera at the center of the top edge of the screen using the standard clip mount. Connect the USB-C cable to the corresponding port on the back of the monitor.
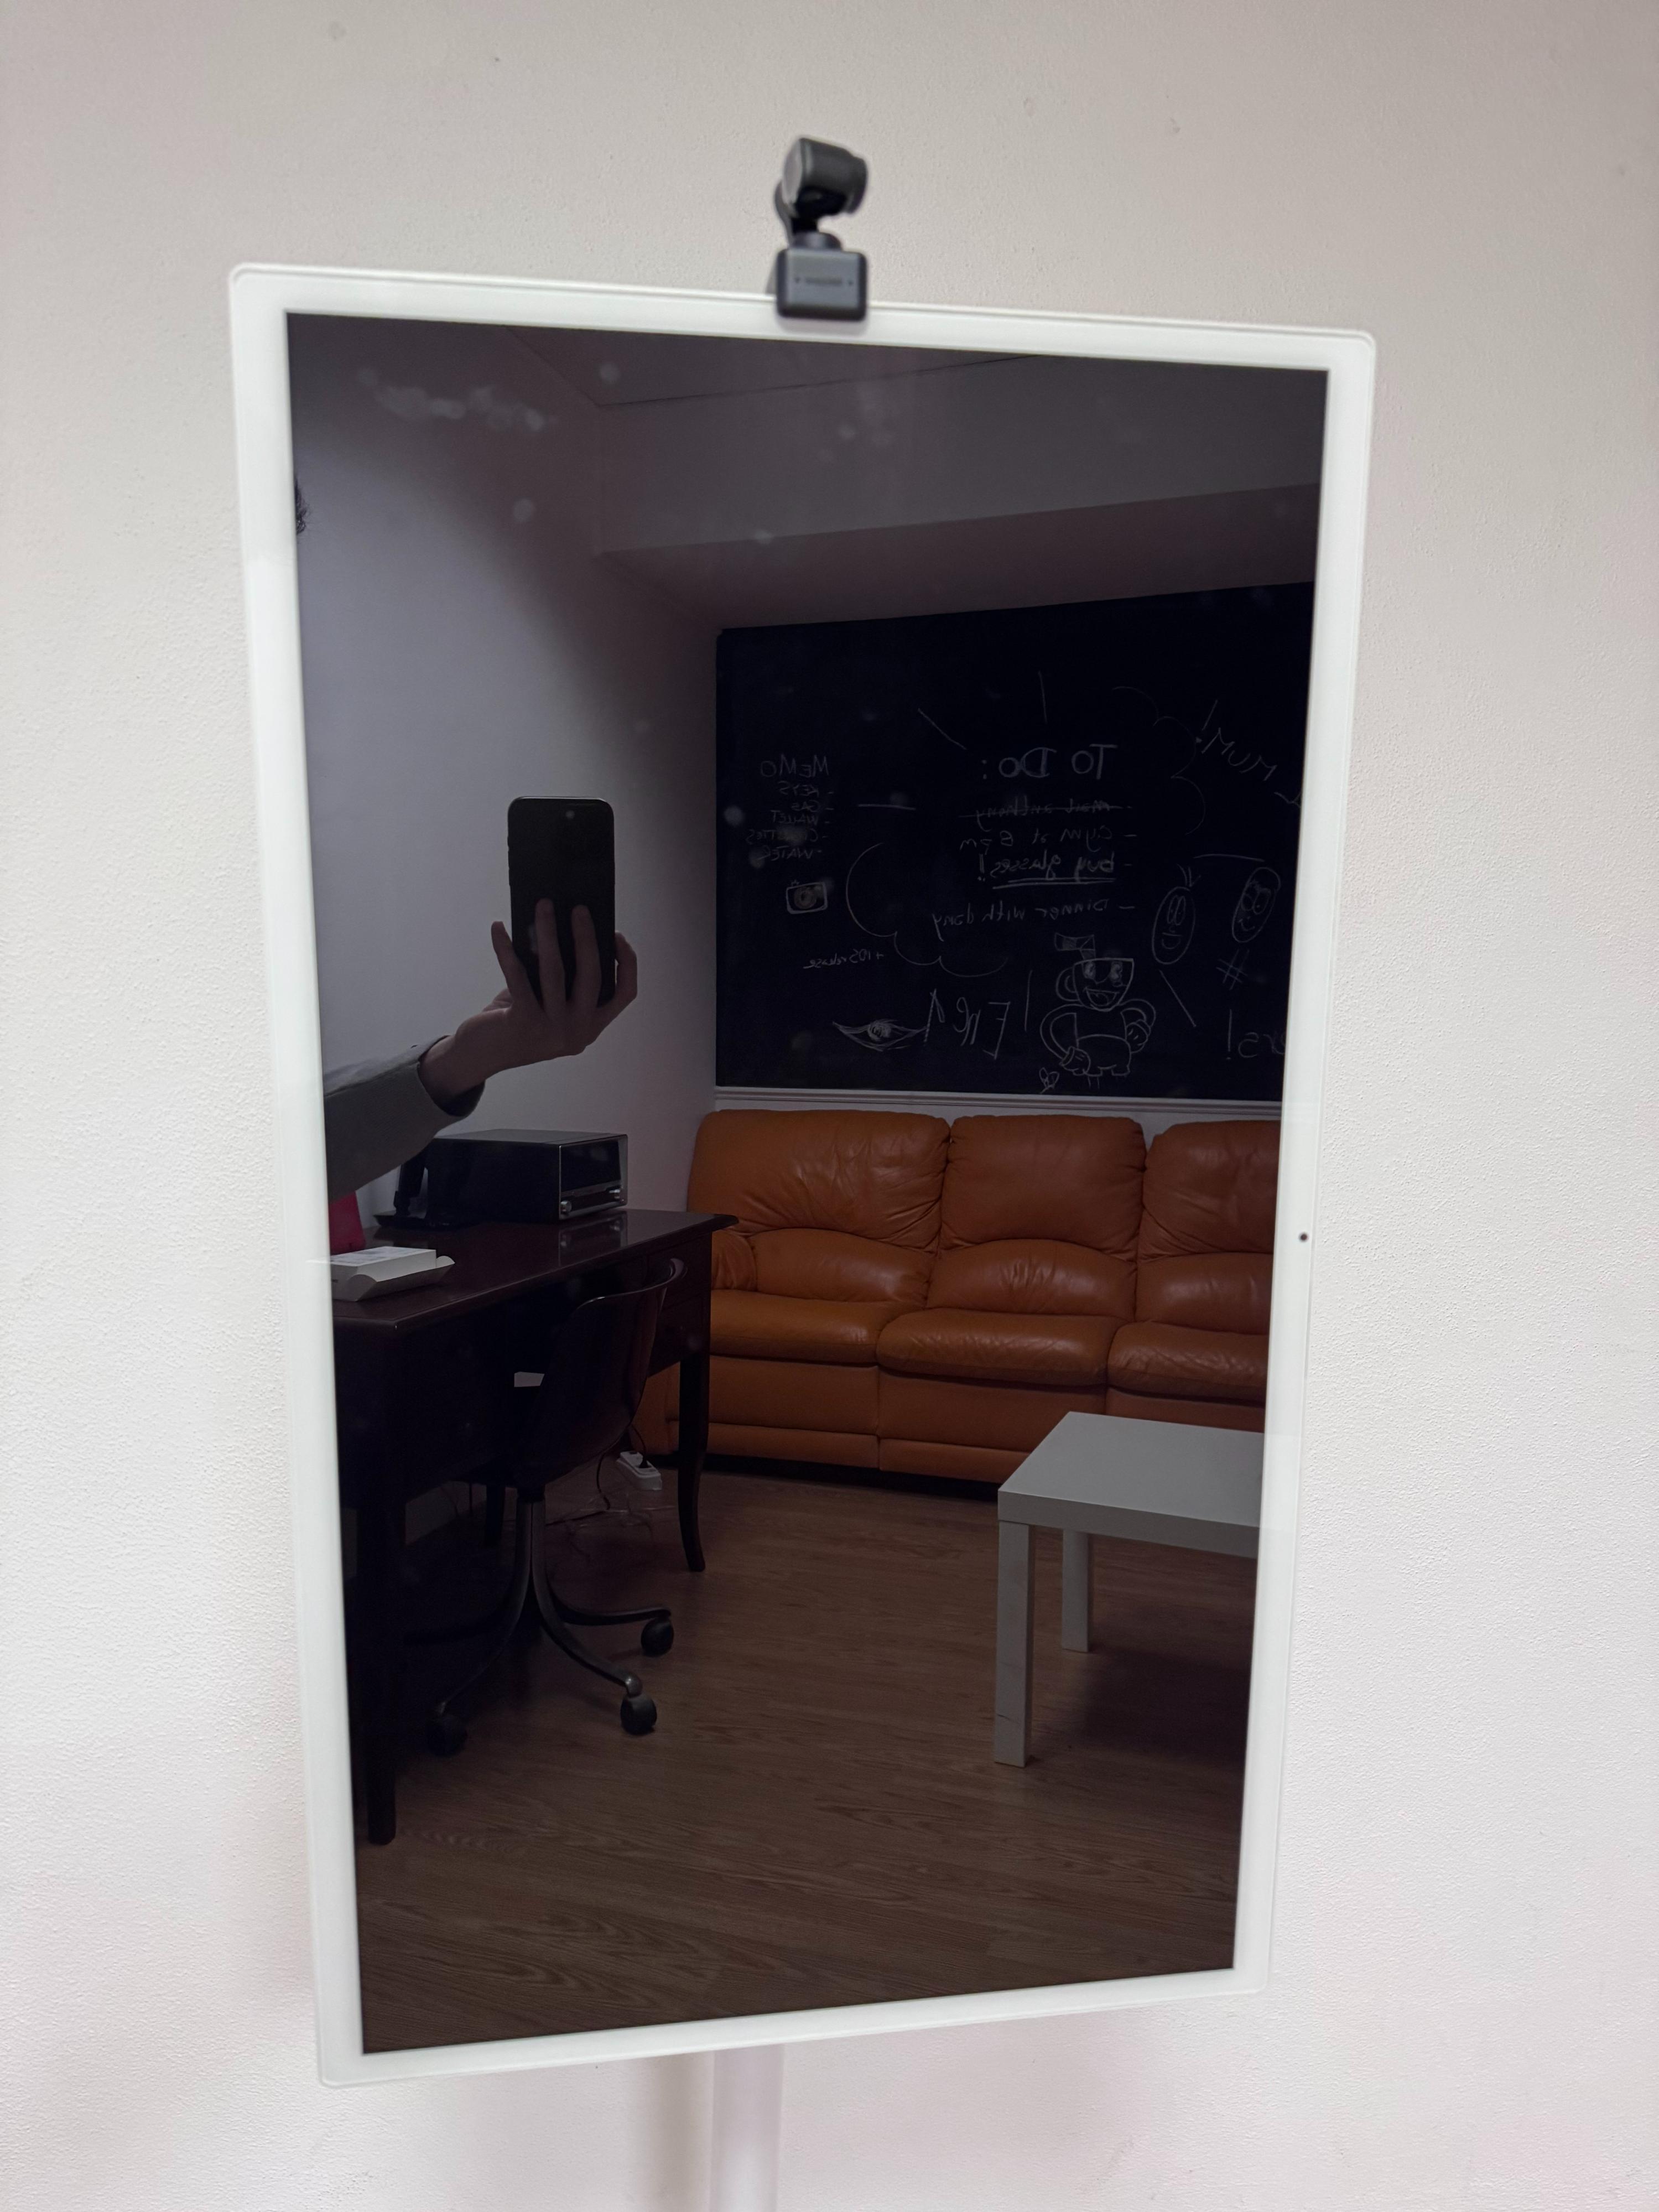
Step 12 — Final check
The mirror is now assembled and ready for software configuration. Verify that:
- The monitor is stable and in portrait (vertical) position
- The camera is centered and connected
- The power cable is properly connected
- The pole locking screw has been removed